


The GlassMeter posts are about a light meter I built to understand metering. But a meter reading is only the first link in a long chain, and the rest of that chain is where film photography actually happens: chemistry, water, time, and a lot of working in the dark. This is the companion piece I kept wanting to write, the part where a number becomes a negative becomes a print you can hold.
I'll walk the whole thing end to end, using one frame as the example: the valley oak you saw in the GlassMeter post, the one with the big tree against a bright, cloud-streaked sky. It's a hard exposure and a harder print, which makes it a good teacher.
1. Choosing the film
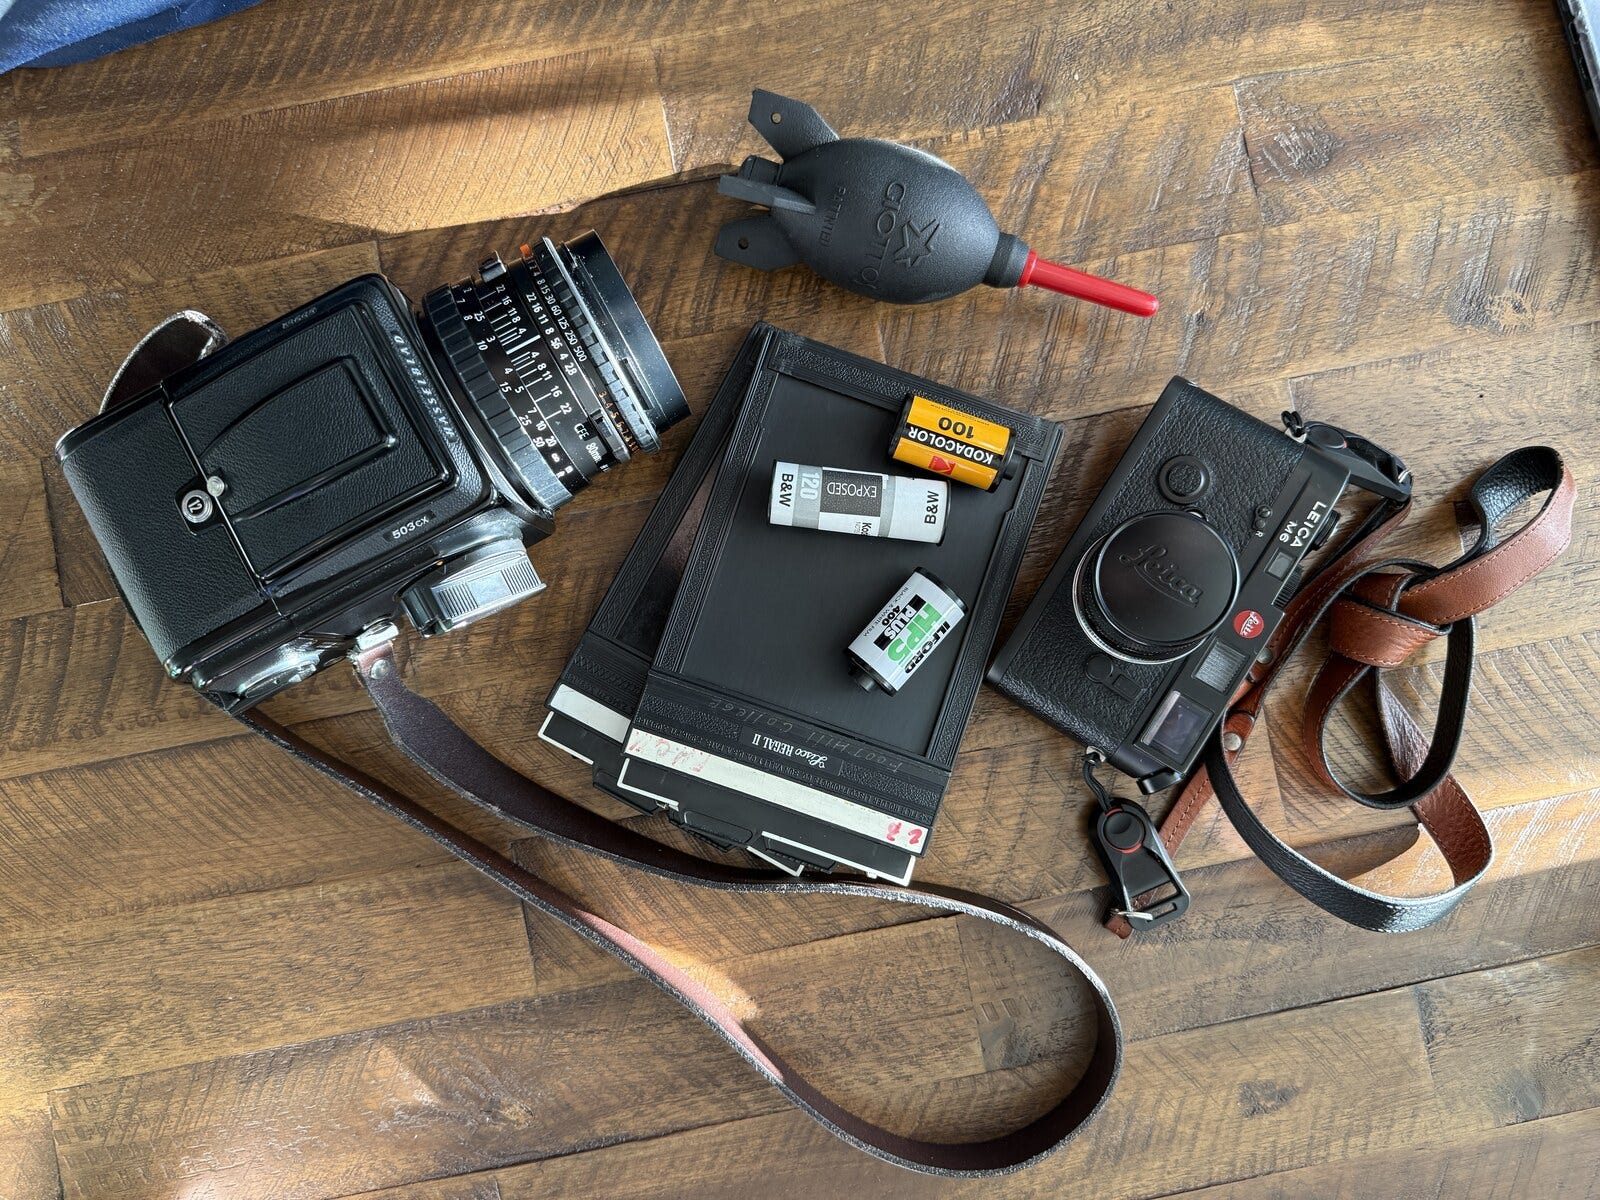
I mostly shoot Ilford HP5 Plus or Kodak T-Max 400. I like a contrasty negative, and both push and pull well, so I have room to chase the light instead of being boxed in by it.
A quirk I've leaned into: I've bought a fair bit of 20-plus-year-old expired T-Max, and it shoots nearly the same as a fresh box. It wants a touch more exposure to make up for age, but not much. There's something satisfying about feeding decades-old film through a brand-new app and getting a clean negative out the other side.
2. Metering and making the exposure
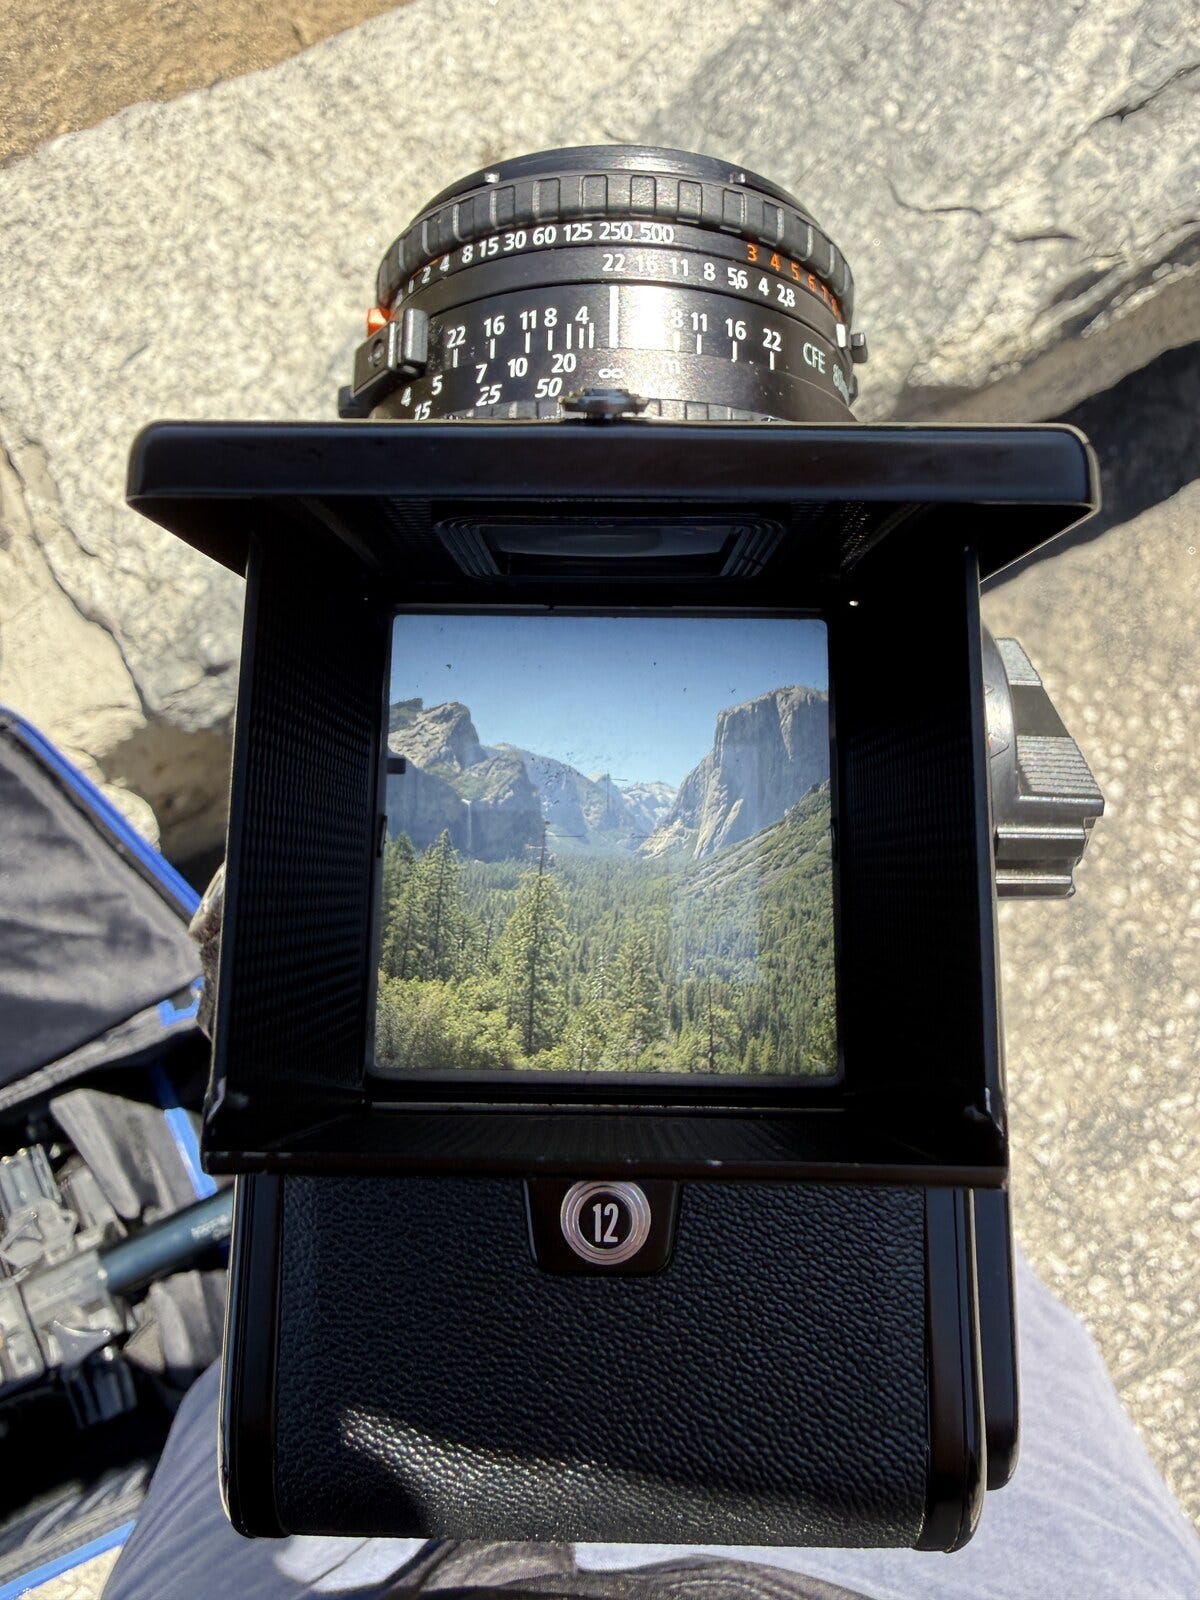
I work off a tripod. I compose with the lens wide open, because that throws the most light onto the ground-glass screen and makes focus easier to see, and I use a magnifying loupe to confirm it's tack sharp. Then I pick the aperture I actually want, the one that puts the depth of field where I need it.
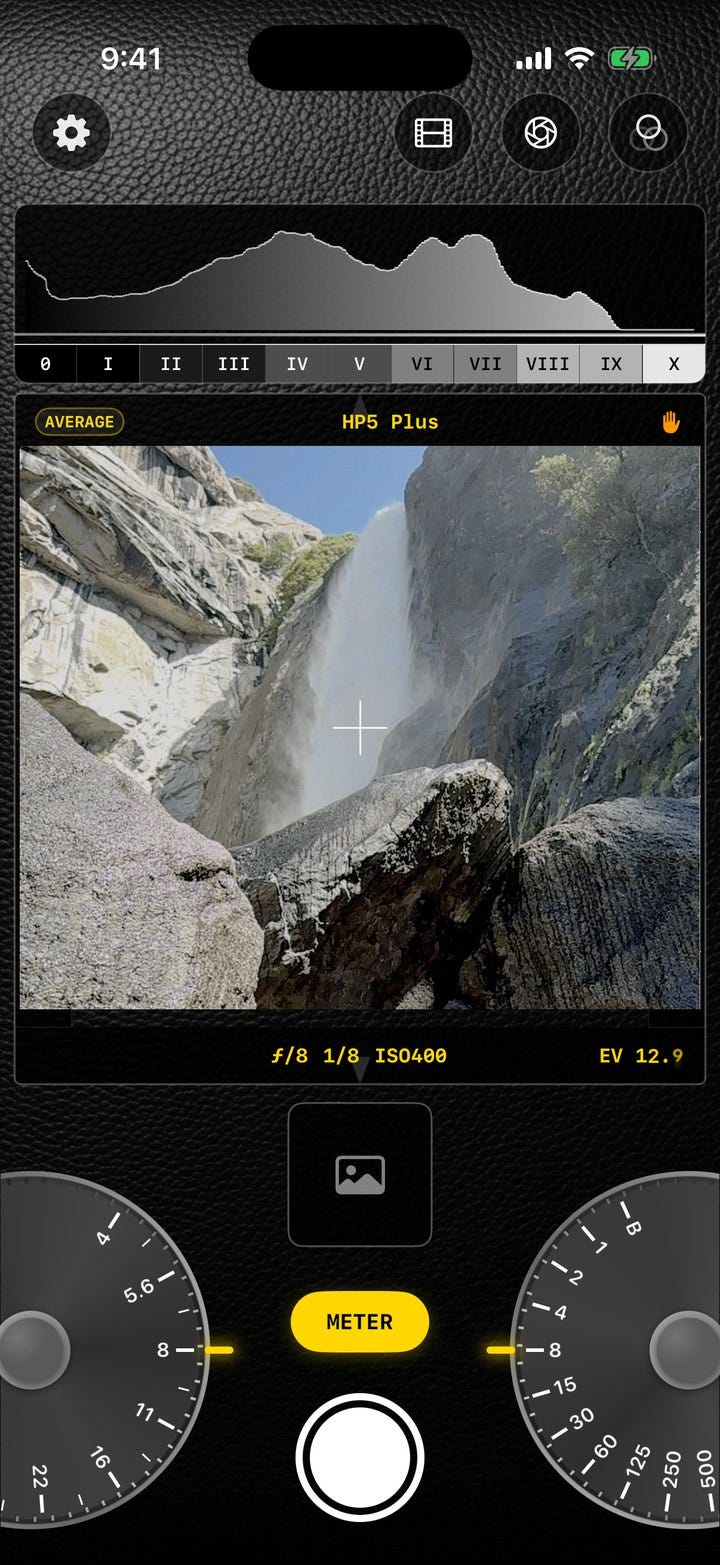
Now the meter. I open GlassMeter and match the composition in the finder, then I read the scene the Zone System way. I spot-meter a shadowed area where I want detail without it going muddy and place it on Zone IV, and I drop a pin there. I add a second pin on the brightest part of the scene and note how far apart the two readings are, so I know the contrast range I'm dealing with. I add a third on the darkest point. The exposure I trust is the one that holds those shadows at Zone IV, which is exactly what the app hands me.
I set that aperture in the app and check the rangefinder to see whether the depth of field matches what I pictured. If it doesn't, I adjust and look again. Then I lock the aperture, press meter, and the app gives me the shutter time. I dial it into the camera.
Then the ritual. I check the composition one more time, press the cable release, and wonder why nothing happened. Right: the dark slide is still in. I pull the dark slide, press the release again, and there's that satisfying ker-chunk as the leaf shutter fires and the film finally sees the scene. I advance the film and slide the dark slide back in. If the exposure runs longer than a second I'll use mirror lock-up to kill the vibration, but for a normal frame I don't bother.
3. Loading the tank
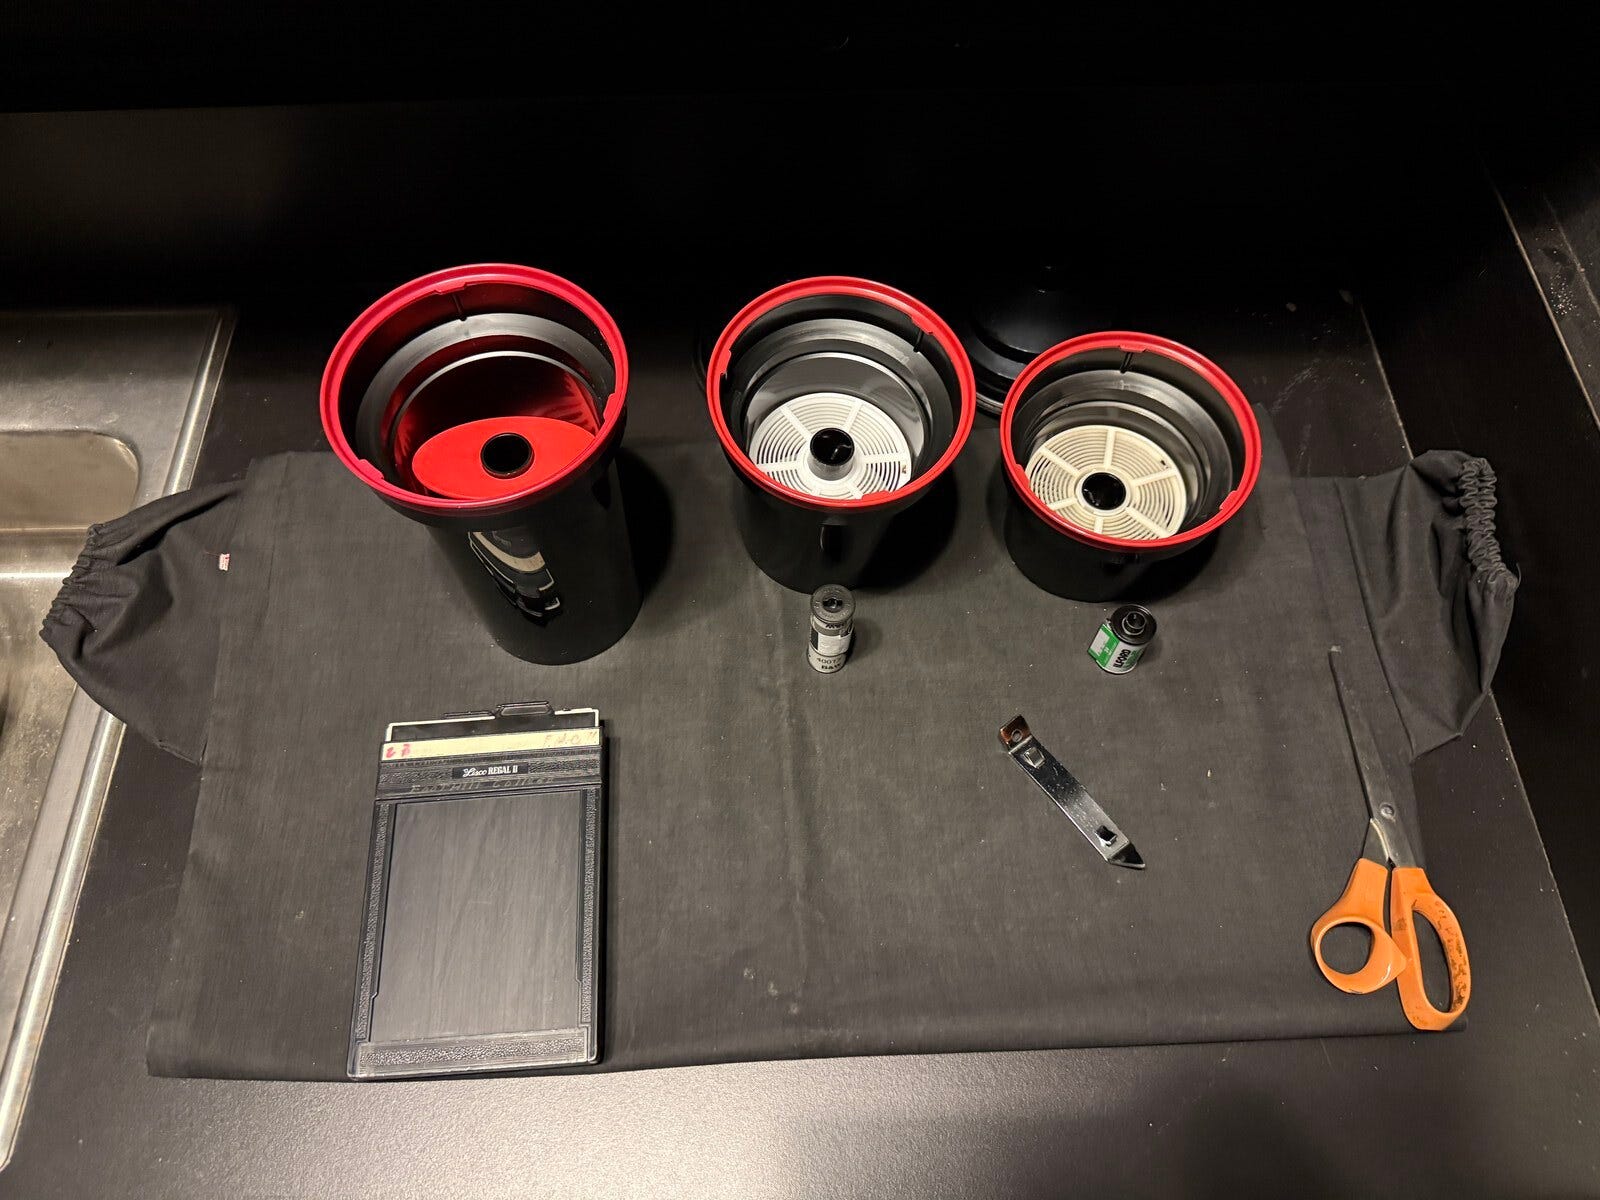
Developing starts in total darkness. We use plastic Paterson tanks, usually sized for two reels, which suits me because I tend to shoot more than one roll a session. There's a properly dark room, no safelight, where I pull the film off its spool and wind it onto the reels by feel.
That expired T-Max fights me a little here, because old film likes to stay curled, which makes it stubborn to seat on the reel. I can load by touch in complete darkness now, but it took real practice with a sacrificial roll to get there. It is a strange and good feeling, doing something delicate entirely by hand and feel, with your eyes useless.
4. Developing the film
Once the film is sealed in the tank, the lights come back on and it becomes a careful kitchen recipe.
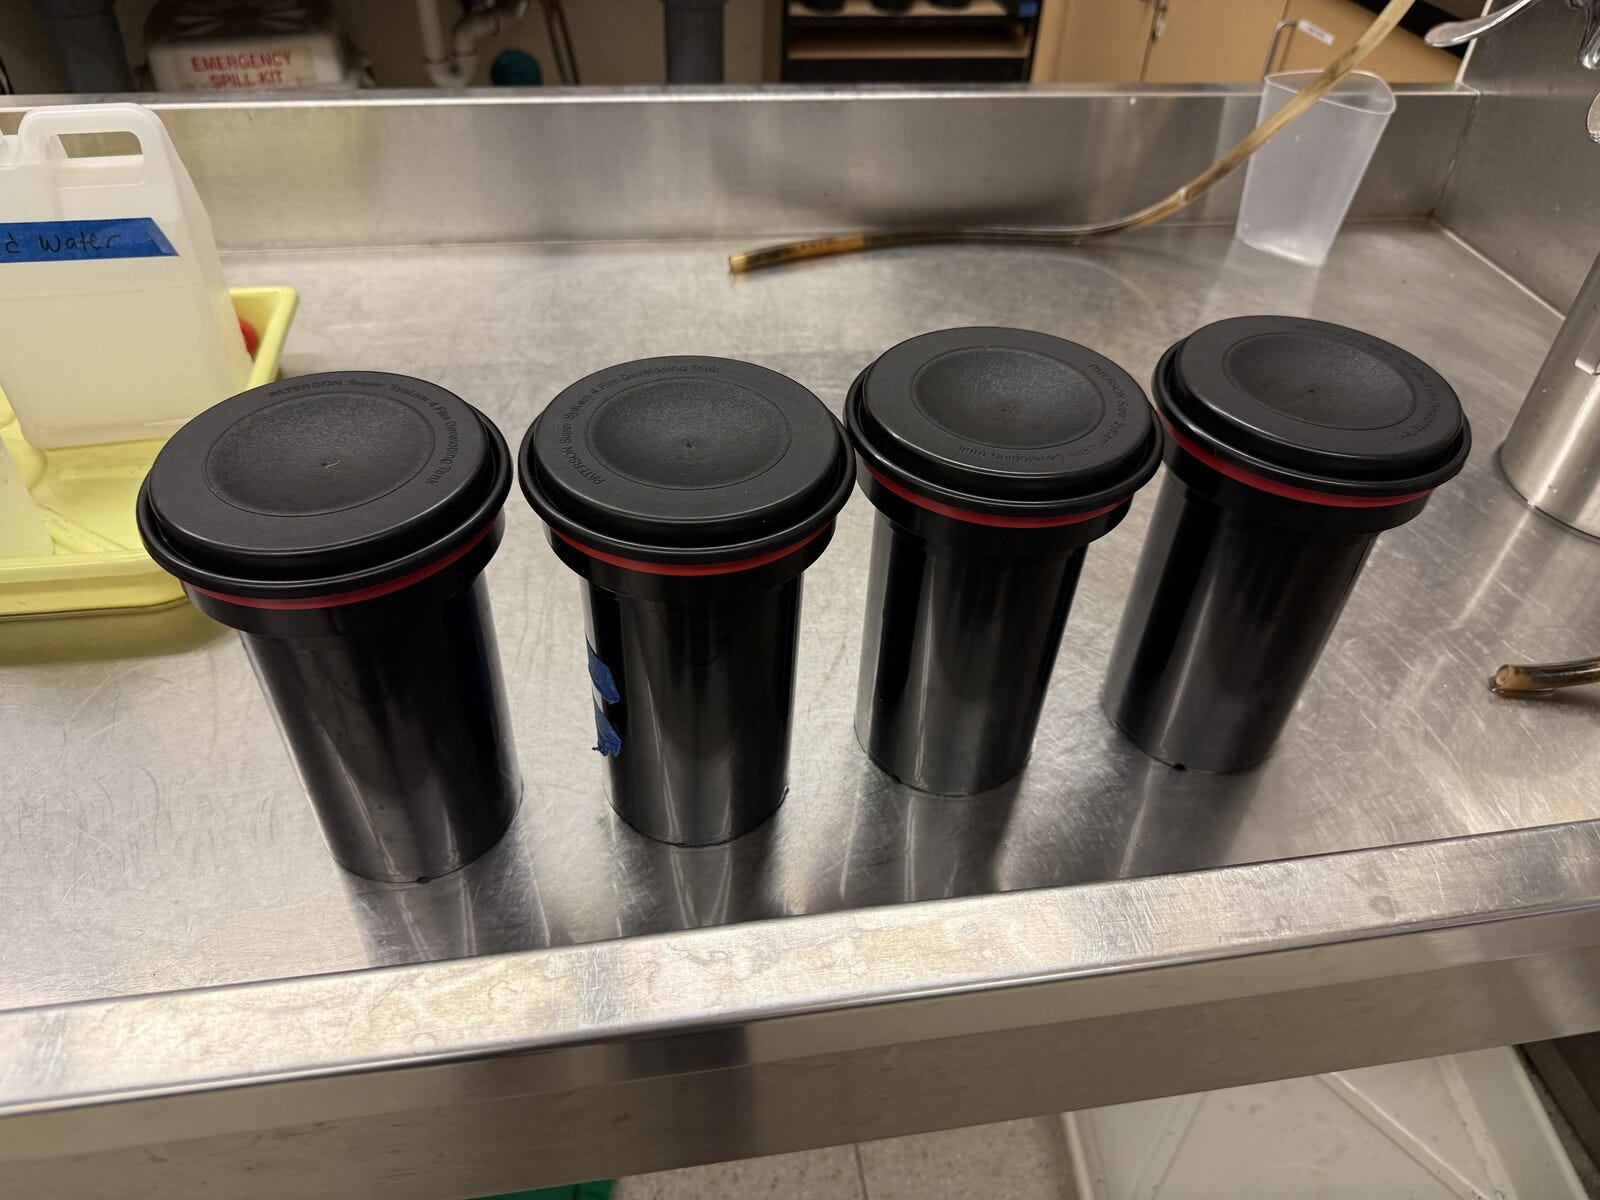
For most of the class we were using Arista Premium, Freestyle's liquid developer, which is widely understood to be a rebadged Clayton F76+. We run it at a 1:9 dilution, which makes it milder and more consistent than alternatives. At 68°F, HP5 Plus runs 7:00 and Tri-X runs 6:30. Lately the tap water comes out closer to 70°F, so we shorten the time a touch using a development chart rather than pretend the thermometer says what we wish it did.
The sequence is the standard archival one: developer, then a one-minute water bath, then fixer for five minutes, a water wash, three minutes in hypo-clear to pull the fixer back out, a long archival rinse, and finally a dip in Photo-Flo so the film sheets water instead of spotting. Agitation matters as much as time: thirty seconds at the start, then five seconds every thirty after that. Too much agitation and the contrast climbs; too little and you get uneven development. It is a feel you build by repetition.
5. Drying
In class we have a luxury: an industrial film dryer that takes the film from dripping to bone-dry in about forty minutes. I squeegee the excess water off between two fingers, hang the strips in the dryer, and forty minutes later they're ready. At home this step is an overnight affair in a dust-free bathroom, so the dryer feels like cheating in the best way. Once dry, the strips go into archival binder pages, which are what I'll proof from.
6. The contact sheet
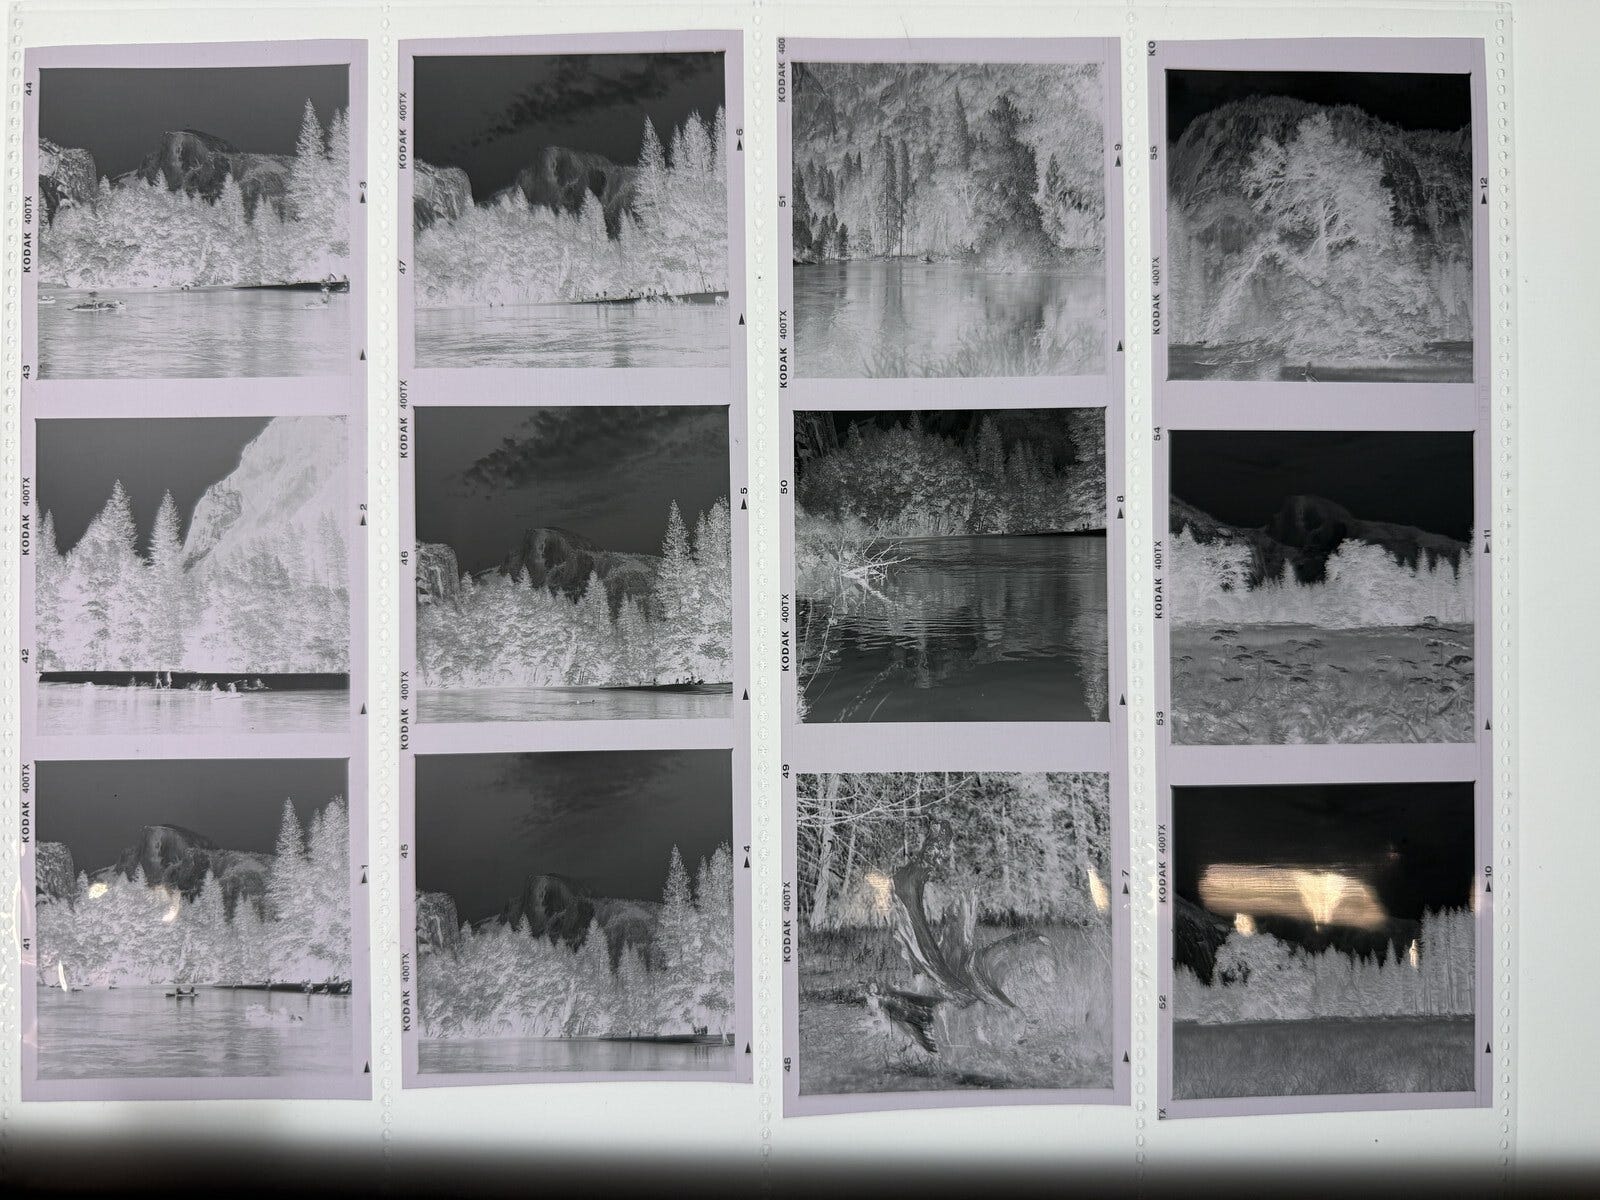
Before I commit good paper to a single frame, I make a contact sheet, a one-to-one proof of the whole roll, so I can see what I actually have.
It's made on the same Saunders/LPL enlargers we print with, using a full sheet of glass to press the negative pages flat against the paper. The method is a test strip first: raise the enlarger so the light covers the easel, open the lens to its brightest, and expose a thin strip of paper in stages, sliding a piece of cardboard along in three-second steps so I end up with a strip showing four or five different exposure times. I develop that, look at it in the light, and pick the time where the frames read best. Then I expose the full sheet at that time. We started the term on Ilford MGRC, the resin-coated paper, and have moved to Ilford Multigrade FB Classic, a glossy fiber paper, for the advanced class. The fiber is more expensive and fussier to handle, but the blacks are deeper and the print just looks better.
7. Making the print
This is where it stops being a recipe and starts being a craft.
I print on a Saunders/LPL 4×5 enlarger, the diffusion-source workstation Foothill's darkroom is built around, and an 11×14 sheet of Ilford Multigrade FB Classic is my favorite. The diffusion head matters: it spreads light more evenly than an old condenser enlarger, which means smoother tonal transitions and a little mercy on dust. I focus with a throwaway sheet in the easel and set the lens around f/16, two or three stops down from wide open, where it's sharpest.
For a scene like the oak, with detail spread across a wide tonal range, I print split-grade. The idea is to control highlights and shadows separately, using two different contrast filters, instead of compromising with one. First I put in the soft 00 filter and run a test strip in five-second steps over an area where I want highlight detail, the wispy clouds in the bright sky. That tells me the base exposure that holds the highlights. I lock that 00 time in.
Then I switch to the hard 5+ filter and run a second test strip, additive, meaning it lands on top of the 00 base I already chose. That dials in the shadows and the overall contrast. The final print is the sum of the two: a soft exposure for the gentle tones and a hard one stacked on top for punch. You can read the recipe right off this negative's sleeve.
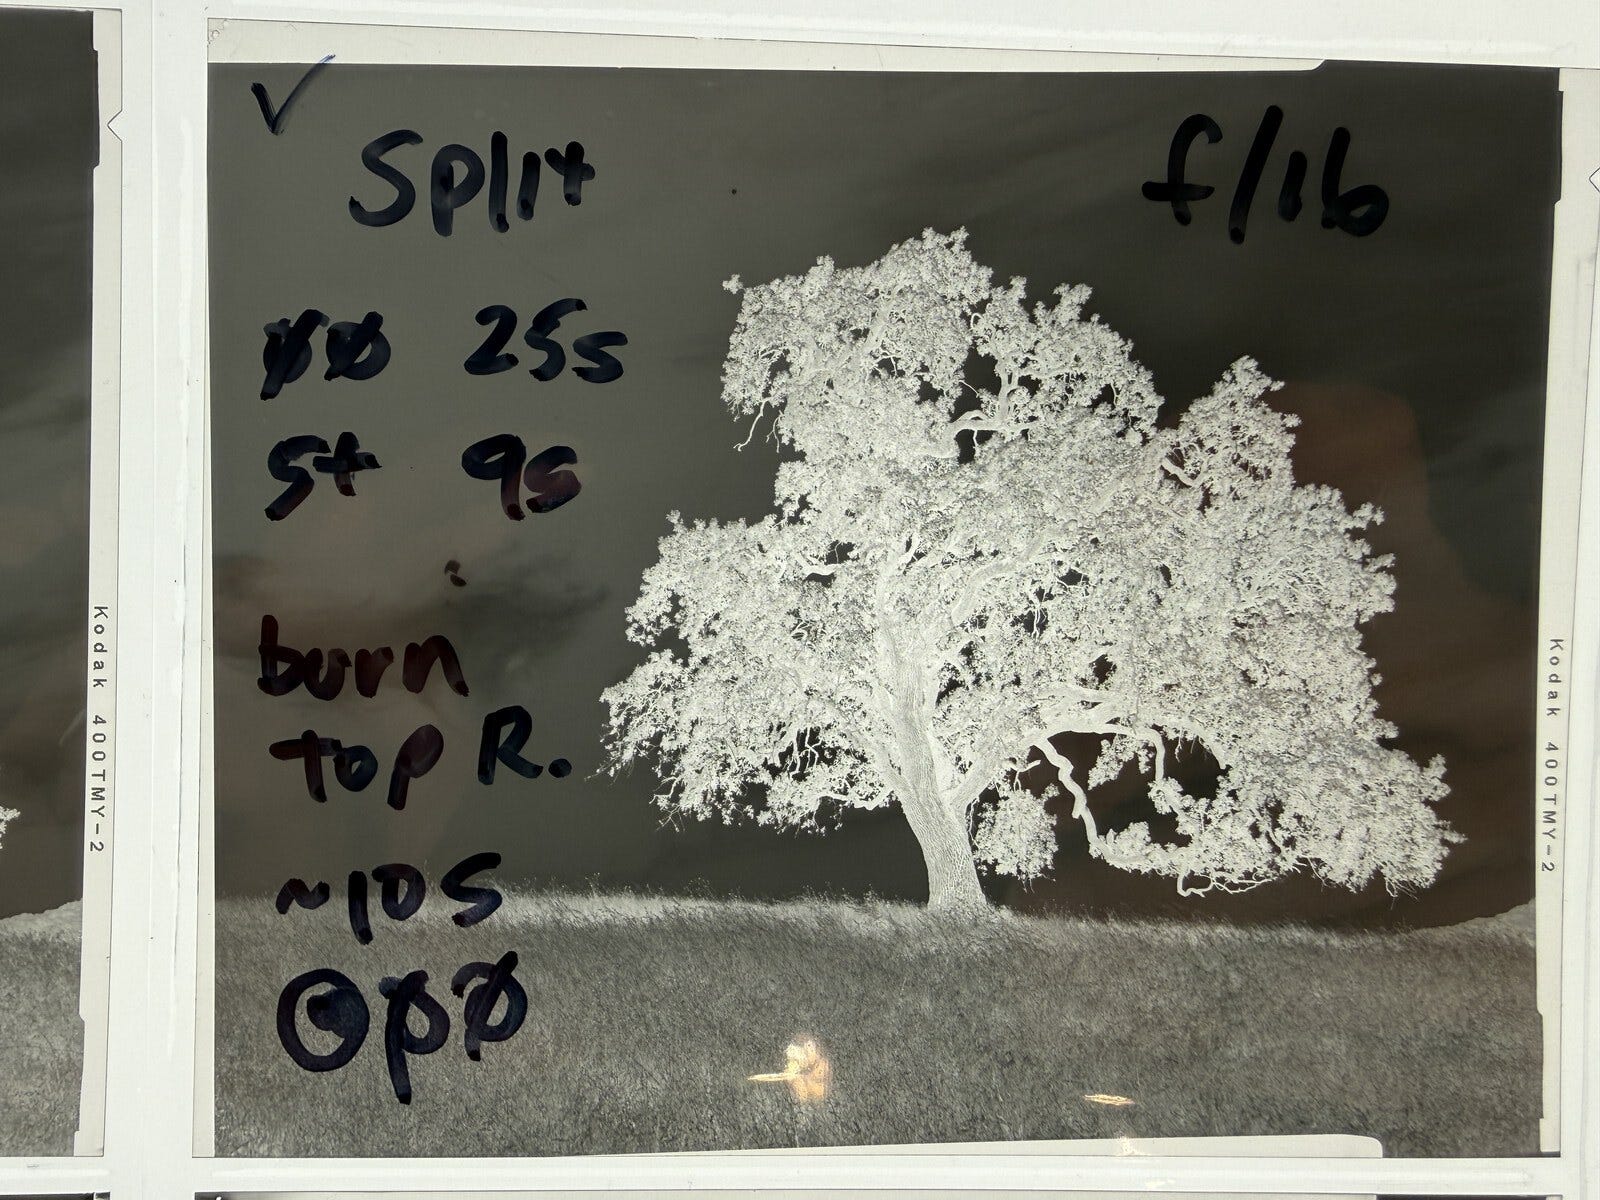
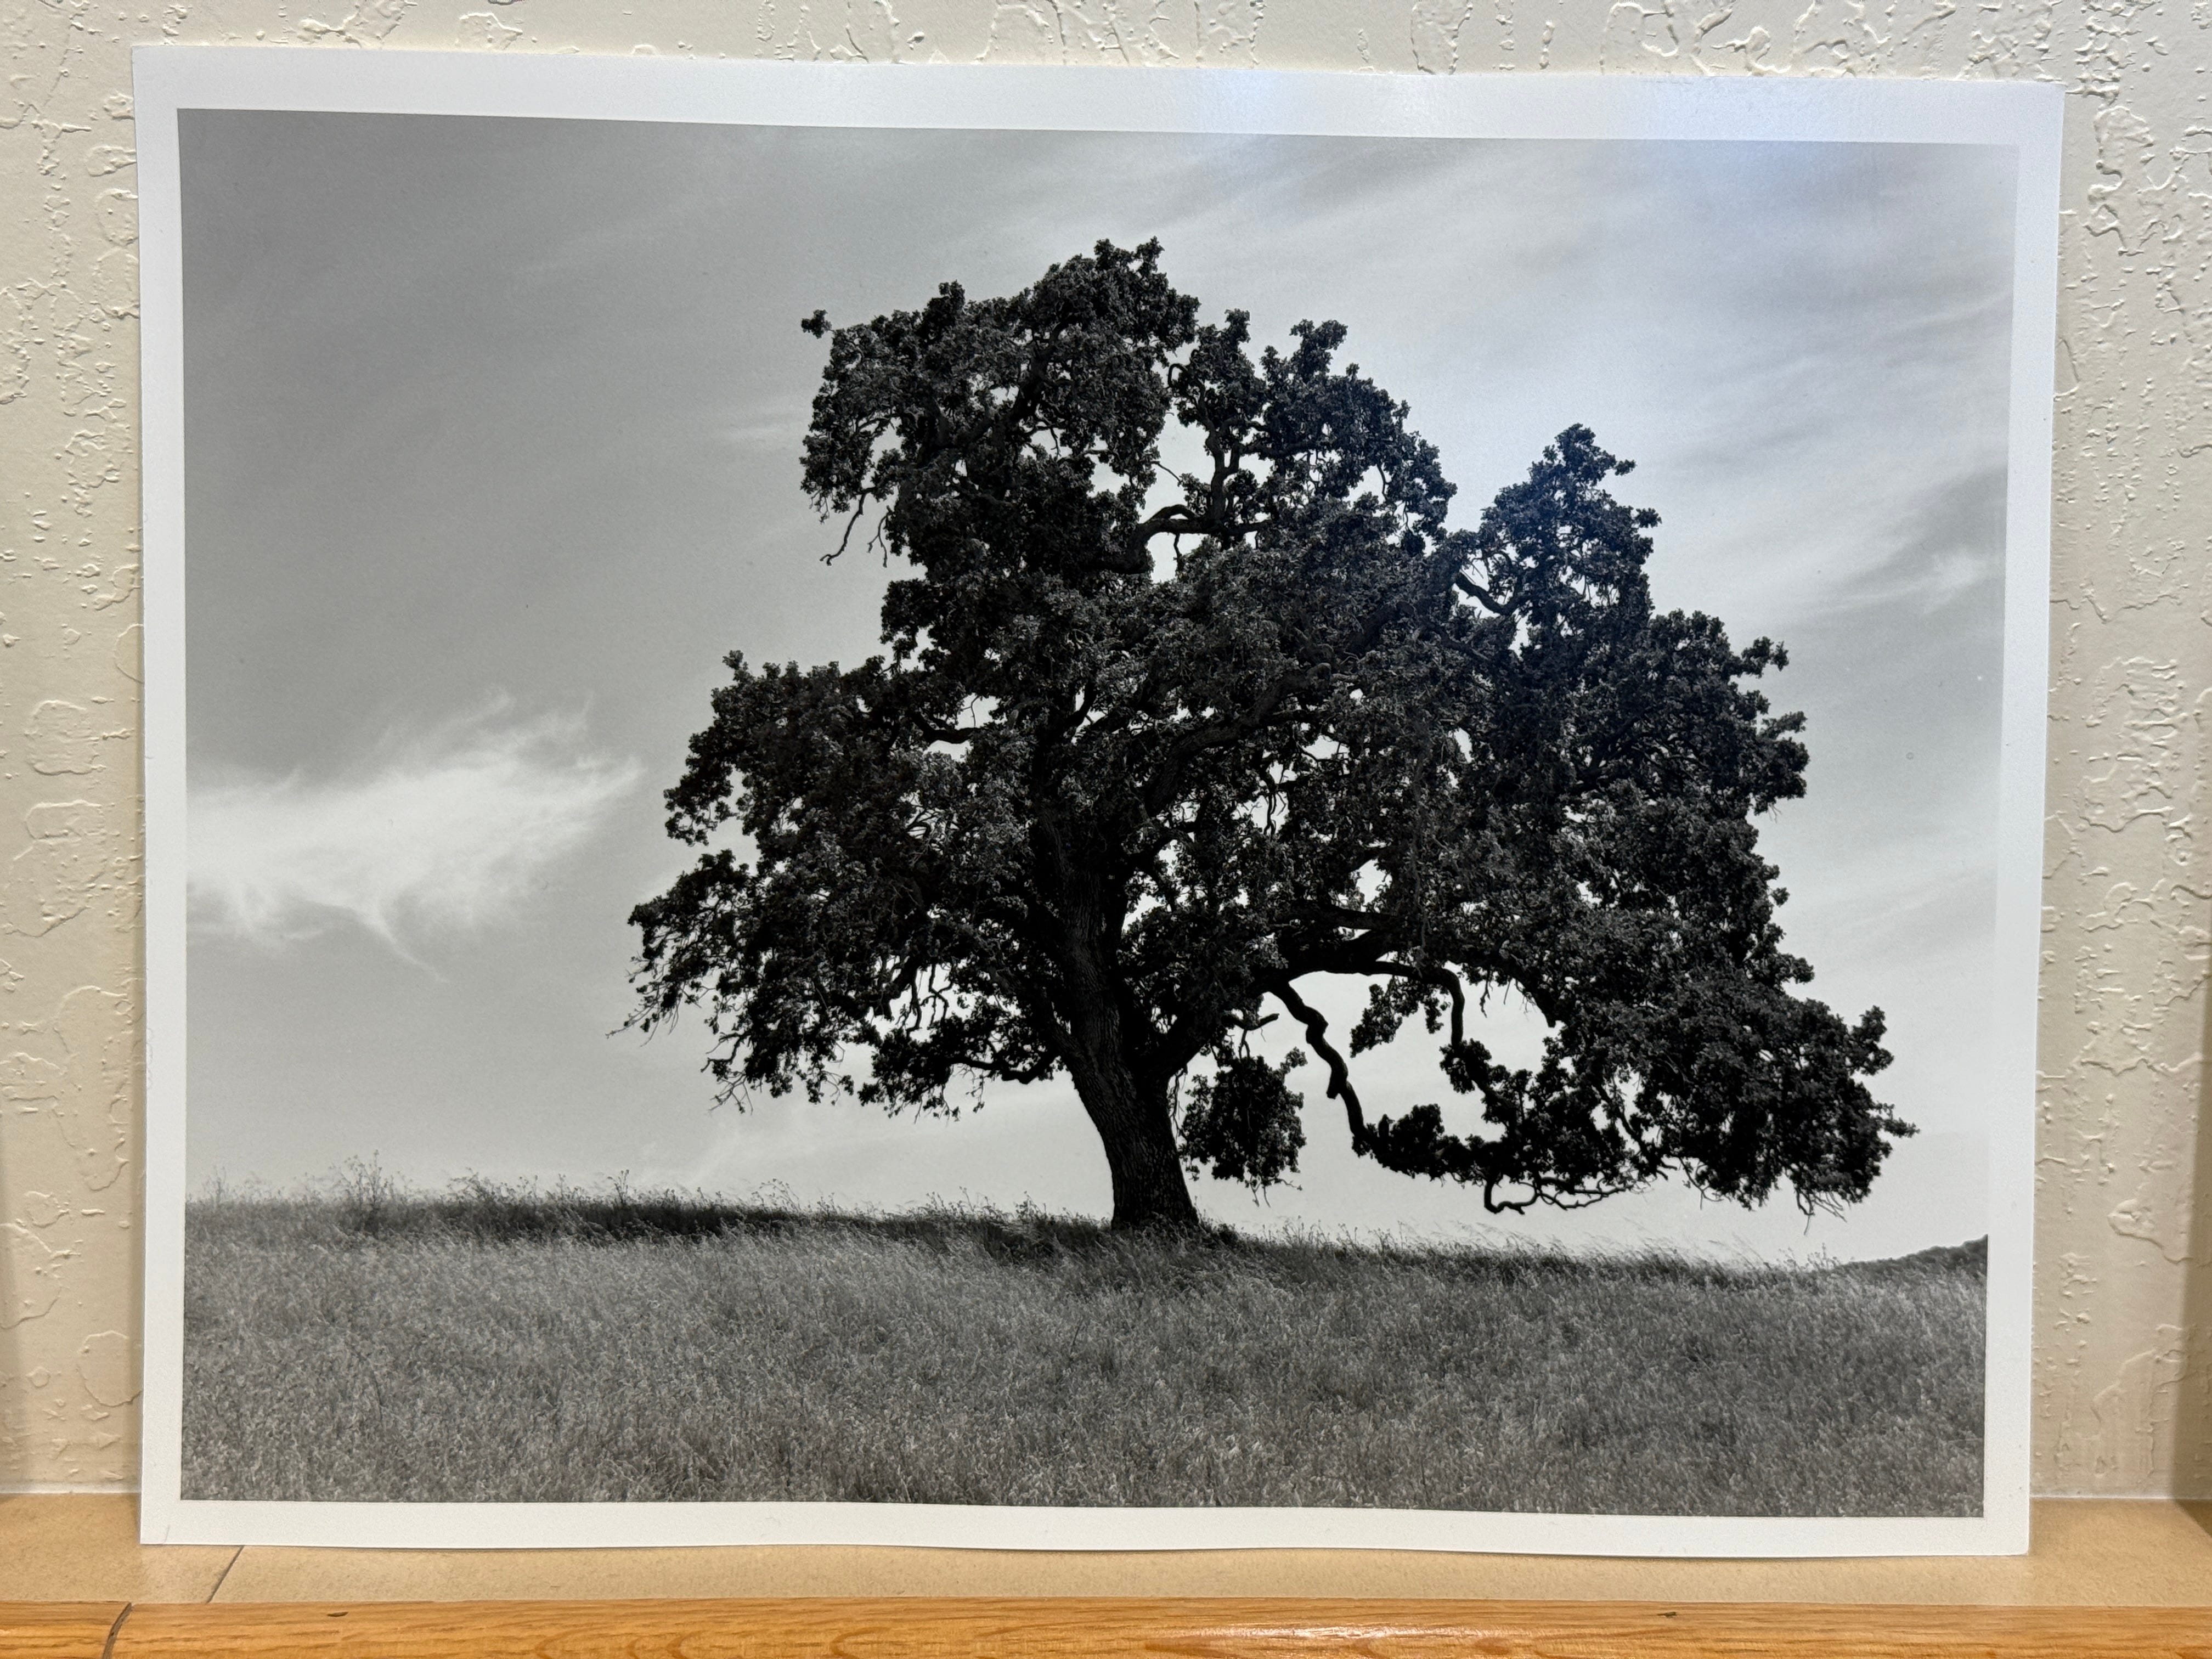
That "burn top R" is the last move, and it's the reason split-grade was worth it here. The sky was so much brighter than the tree that a straight print left the clouds blown out. So after the two base exposures, I give the top-right corner about ten extra seconds of light, holding back the rest of the print with my hands, to bring the clouds back without darkening the tree or muddying the print around it. Split-grade is an advanced technique, and it's overkill on an easy negative. It earns its keep on the hard ones, where you're trying to recover a sky and protect a subject in the same sheet.
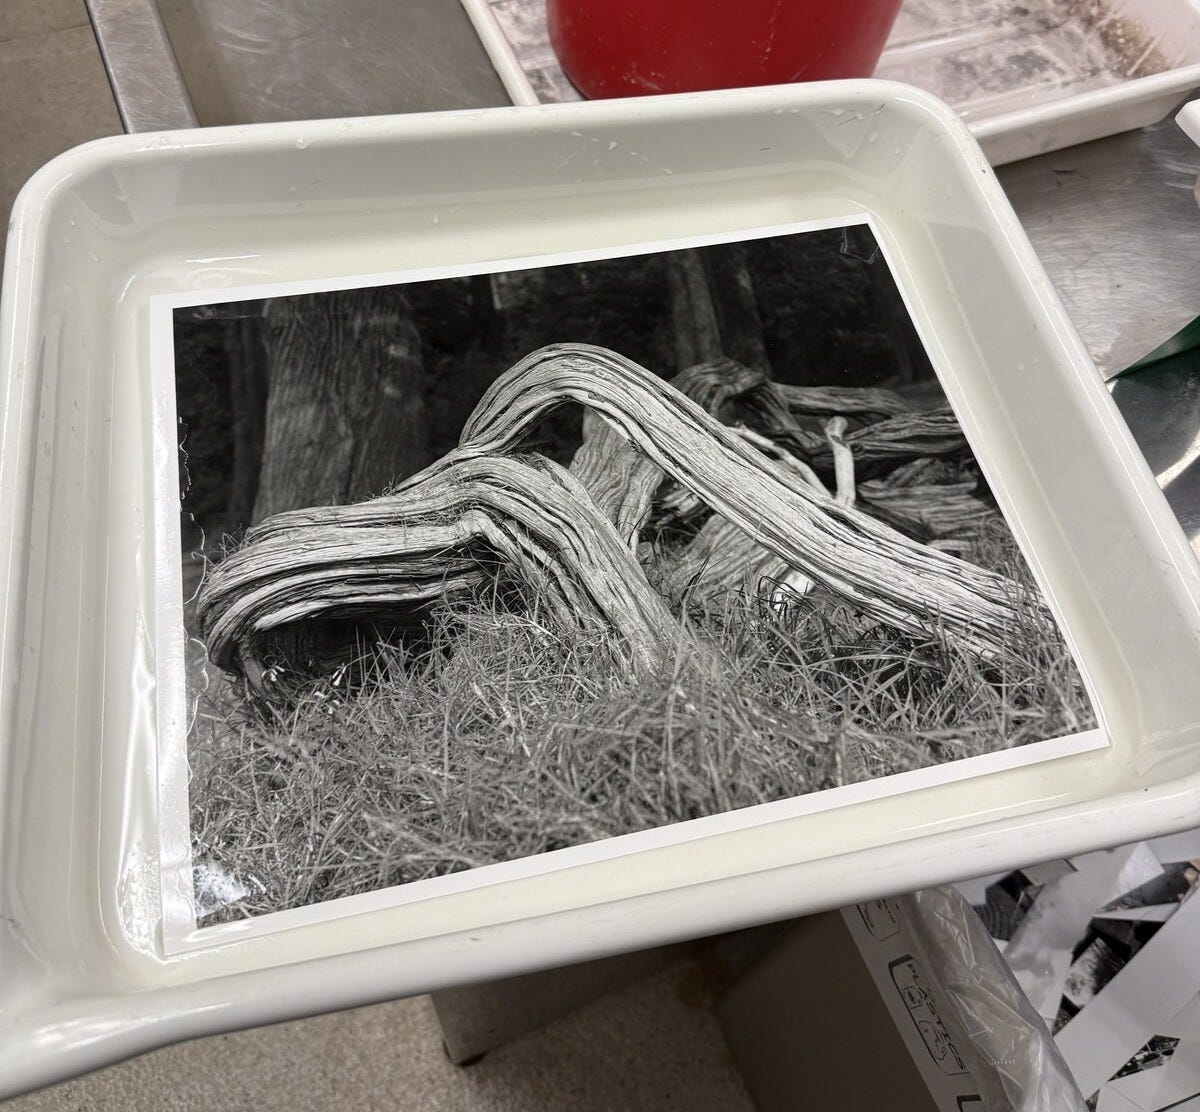
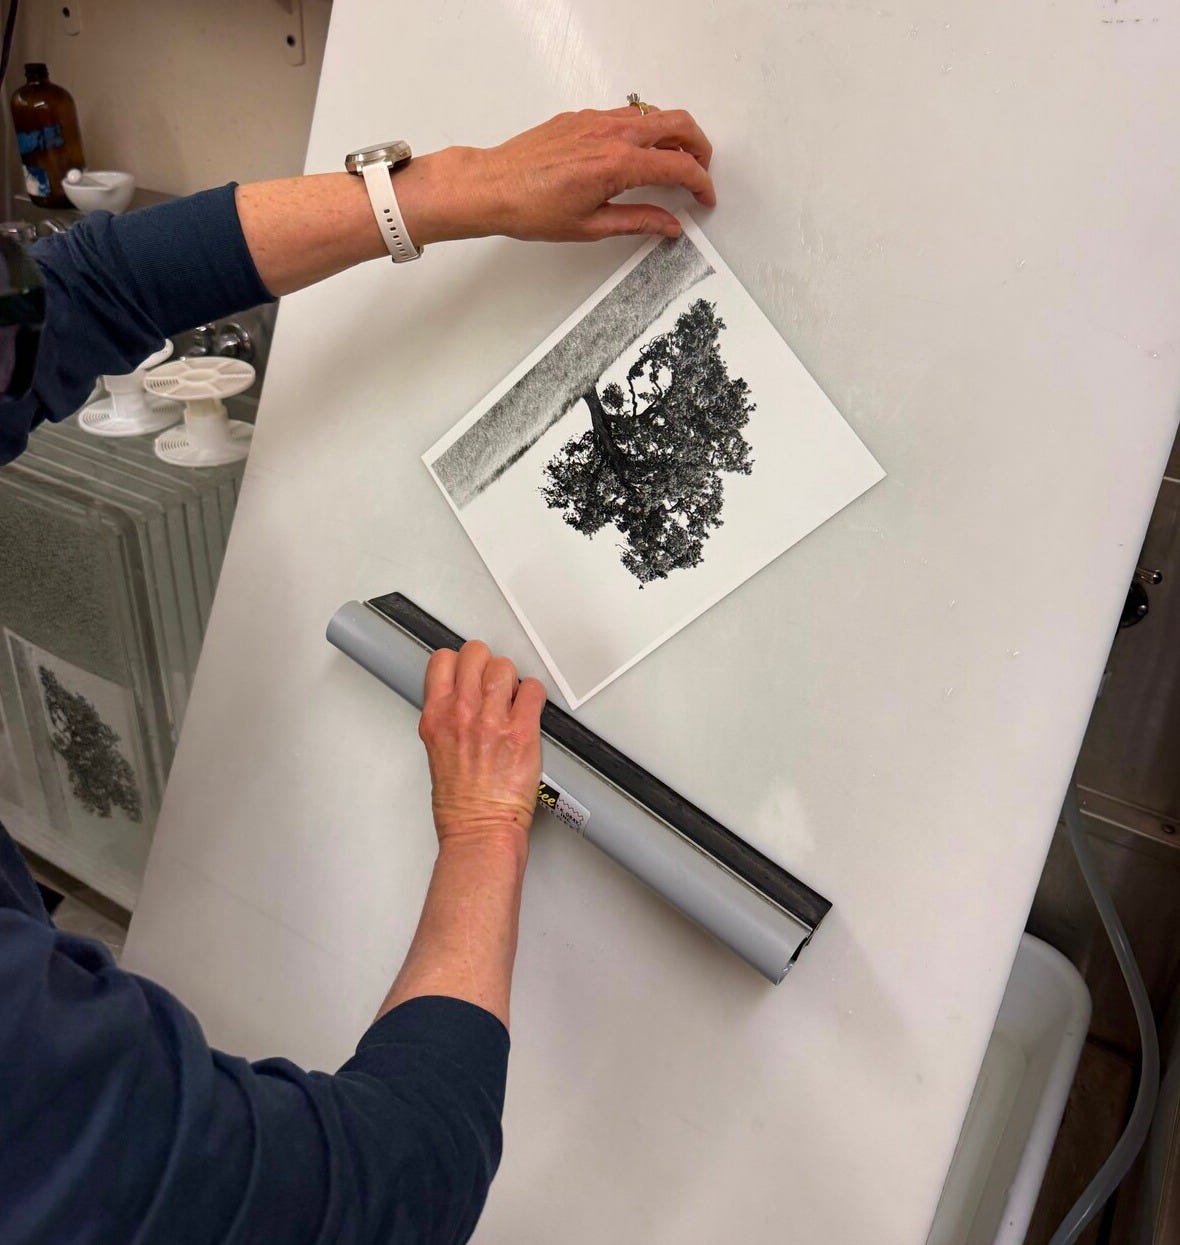
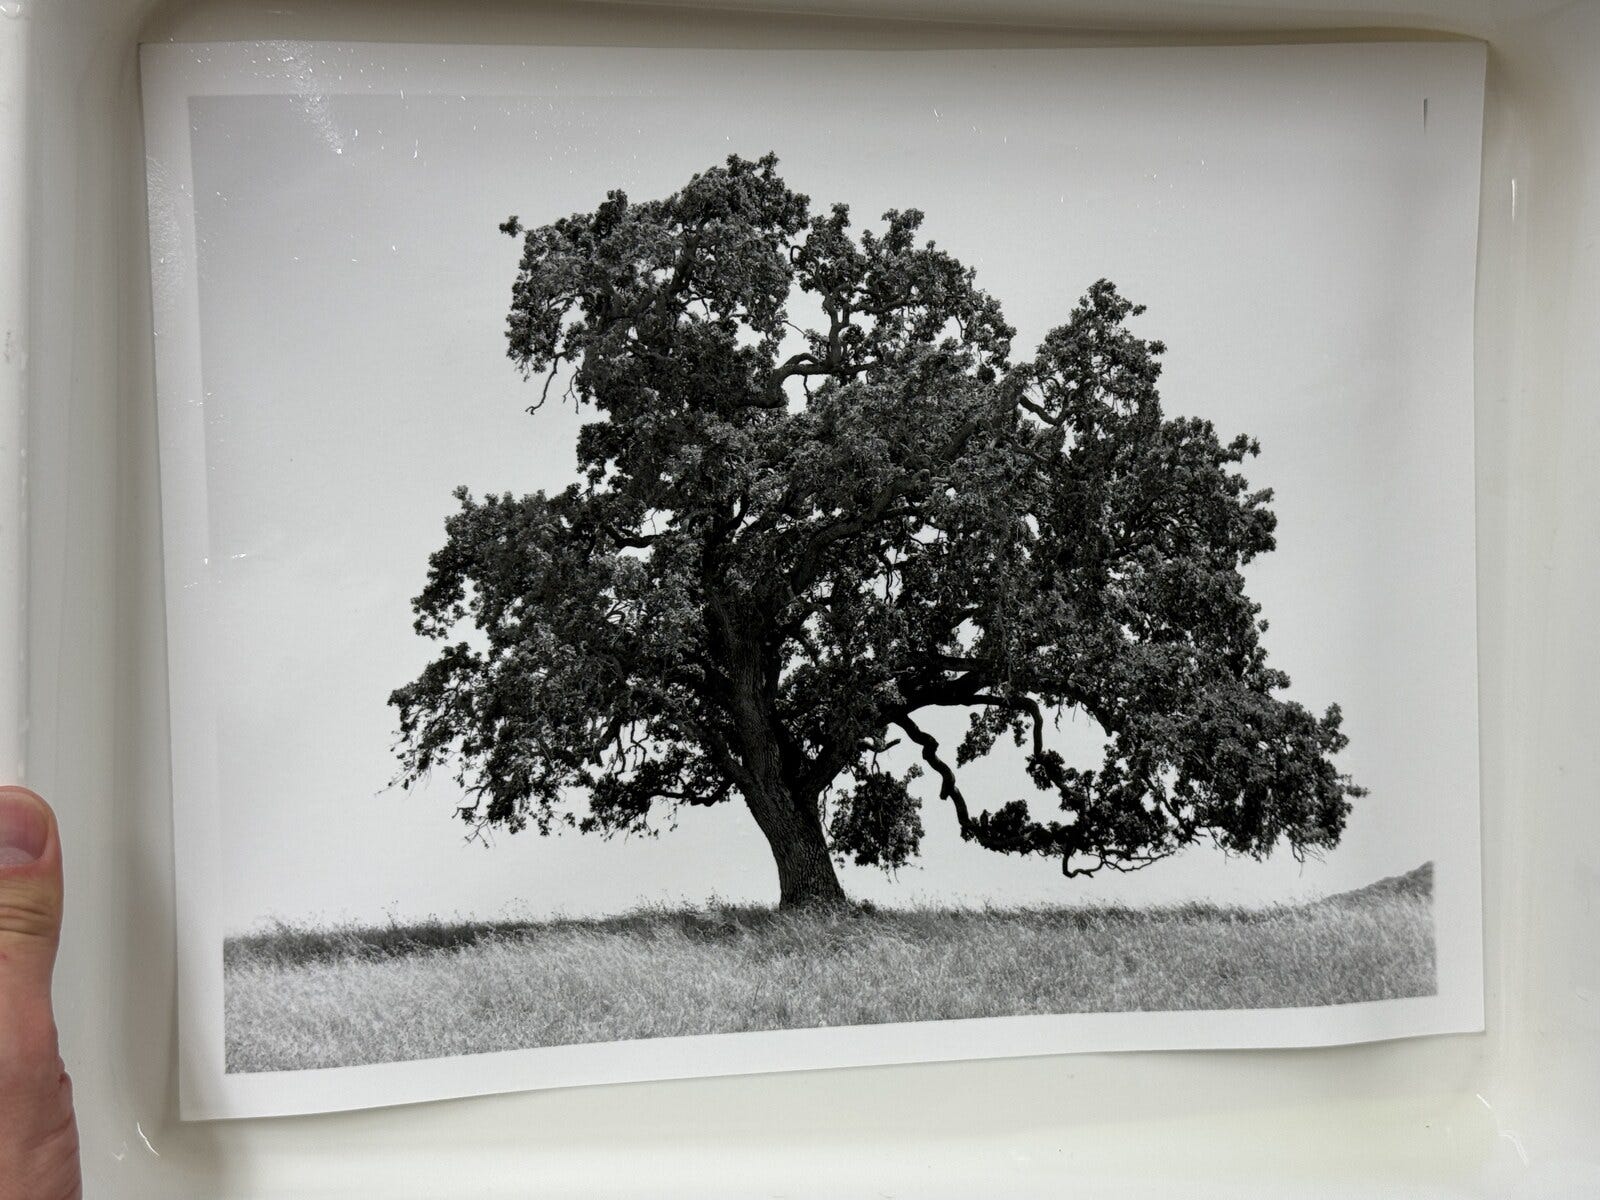
Fiber prints get their own processing run, longer and more patient than the film: two minutes in the developer, forty-five seconds in the stop bath, two minutes in the fixer, a three-minute pre-wash, five minutes in hypo-clear, and a twenty-minute final wash to get it truly archival. Then I squeegee it and lay it face-down on a drying rack. Fiber paper dries with a will of its own and curls as it goes, so the next day I flatten the finished prints in a print press. Only then is it done.
Why do it the slow way
You could ask, reasonably, why anyone does this in 2026 when a phone makes a perfectly good picture in a quarter second. The honest answer is the same one behind GlassMeter itself: doing the whole chain by hand is how you actually understand it. When you've placed the shadow on a zone, agitated the tank by feel, and burned a sky back in under a safelight, "exposure" and "contrast" stop being settings and start being things you have a relationship with.
That oak hangs on my wall now. It took a tripod, a meter I wrote, a tank loaded in the dark, a recipe of chemistry, and two filters' worth of light bent around my own hands. Every step is a place it could have gone wrong, which is exactly why getting it right feels like something.
This is the companion to my GlassMeter series. If you want the app that handles the first link in this chain, it's on TestFlight at [glass-works.ai](https://glass-works.ai/testflight). And if you've got a darkroom, tell me how your process differs from mine.