


Yosemite is my favorite place to make photographs. The first time you come out of the Wawona Tunnel and the whole valley opens up — El Capitan on the left, Bridalveil Fall on the right, Half Dome at the end of it all — something resets. Photographers have been standing at that same wall for a hundred years and it still doesn't get old. Every hour changes it. Every season changes it. Fog pooling on the valley floor in the morning, alpenglow on Half Dome in the evening, Horsetail Fall lighting up like a thread of lava for a few February evenings. It is a photographer's wonderland.
Last week my son asked me if we could go this winter. And then, right after: what does it even look like to photograph there in the winter?
I had answers — snow on the rims, low sun, the valley quiet, the light doing things it never does in summer — but I realized I wanted to show him. Not a Google Image search, and not someone else's photos. I wanted him to be able to stand at our favorite spots, pick a day in January and an hour in the afternoon, and see what the light would do. Then go back to June. Then try sunset. Then try it with fog.
That’s what made me do this.
The spark
Last week was an interesting one in the Twitterverse. Anthropic launched an update called Opus 5.5 which people were using to make 3d explainers, beautiful environments and videos.
Ryan Sael posted a camera explainer he'd built in three.js — a beautiful, interactive lens you could turn and study, lit and animated like a product film (his post). Around the same time I kept seeing people build astonishing 3D worlds that run right in a browser tab with WebGL and three.js (like this one).
And it clicked: I could build Yosemite. Not a painting of it — a real, immersive 3D model of the valley, where I could go to my favorite locations and experiment with any time of day, any day of the year.
I set myself a high bar:
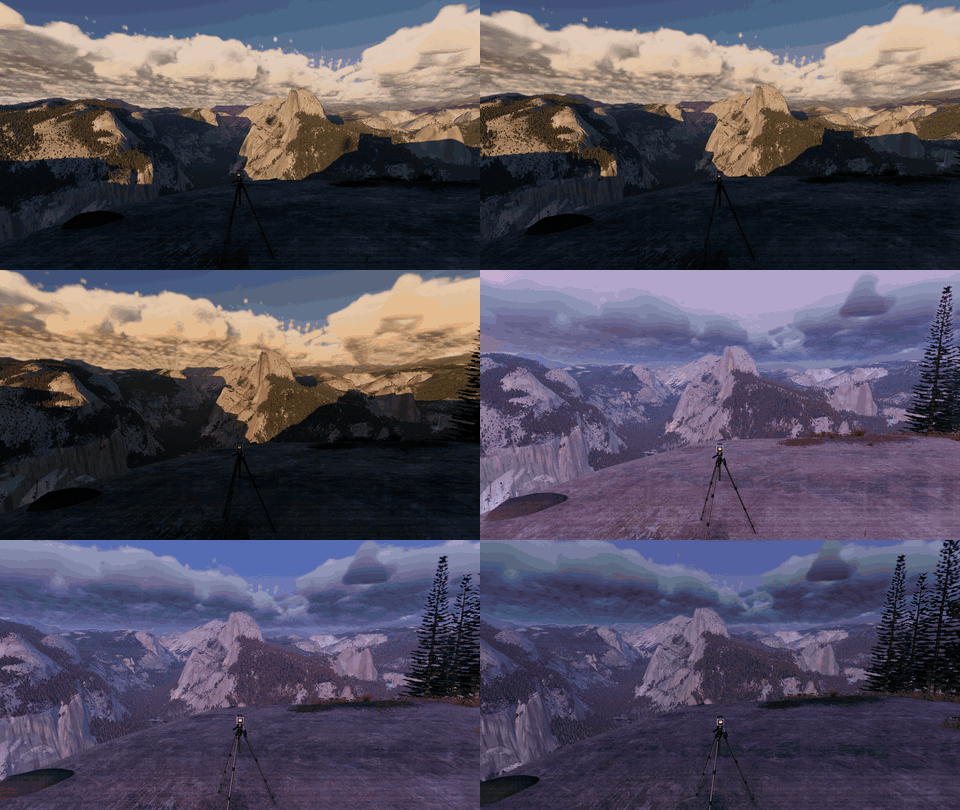
The light had to be as real as possible. Real sun position for the date and hour, a physically based sky, clouds that catch the light the way they do at golden hour, moonlight, stars.
The water had to look real. The Merced, the falls, the mist; water makes Yosemite’s magic.
The place had to feel both detailed and huge. Granite you could walk up to, and a horizon 36 km away.
It had to hold 60 frames per second. Which, let me tell you was tricky for a scene this massive.
And the camera had to look and work like my real Hasselblad. Not a screenshot button — a camera. Lenses, a waist-level finder, a leaf shutter, film.
The head start: GlassMeter
That last point is where I had an unfair advantage.
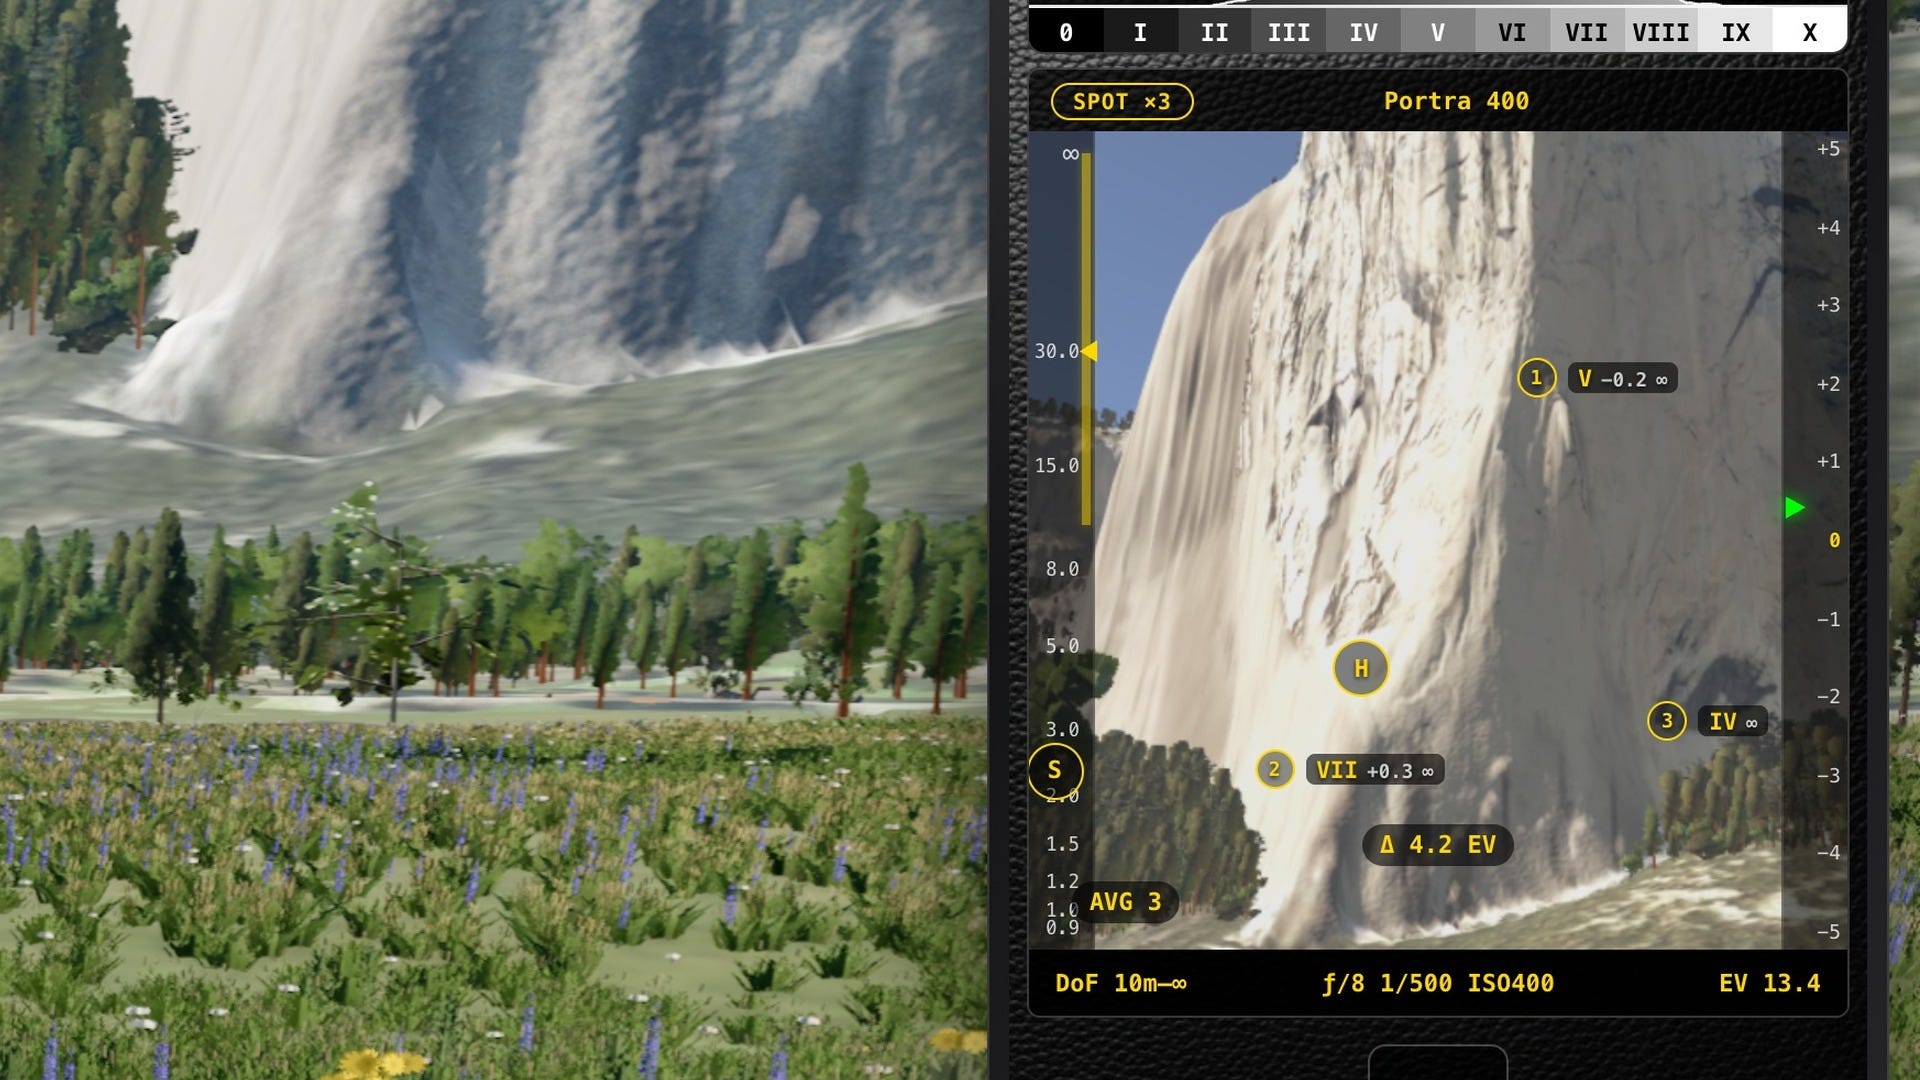
For the past while I've been building GlassMeter, an iOS app that turns your phone into a professional light meter and camera, modeled on the mechanical and optical experience of a classic medium-format camera. Under the hood, GlassMeter is really a simulator: it meters a scene the way a photographer does (average, multi-spot, the Zone System from 0 to X), it knows the optics of real lenses — focal lengths, apertures, depth of field, minimum focus — it models filters with their real stop factors, and it simulates film: each stock's color response, characteristic curve, grain, halation and reciprocity failure.
All of that already existed. So instead of building a camera simulator for the web, I ported GlassMeter's into the browser. The phone floating beside the scene in Yosemite is GlassMeter: the same histogram, the same spot meter, the same METER button that solves the exposure, the same 30 film stocks (and a digital reference). The difference is that instead of pointing it at my living room, you're pointing it at El Capitan.
That's how the two projects connect. GlassMeter is the brain of the camera; the Yosemite experience is a world worth pointing it at.
Building the valley from real data
Everything in the scene comes from public data. There are no purchased models and no stock textures.
The ground is USGS 3DEP elevation data at four resolutions: 60 m out to the horizon, 10 m across the valley, 5 m for the valley core, and 1-meter airborne lidar in a 640 m square around each of the ten viewpoints. It streams in as you move, rendered with a level-of-detail scheme so distant ridges cost almost nothing and the ground at your feet is sharp. It's draped with USDA aerial imagery down to 0.6 m.
The big walls were the hardest part. From above, a 3,000-foot vertical cliff is a single line of pixels, so aerial imagery can't paint it. For El Capitan I used the USGS's ground-based lidar survey of the southeast face, which was captured with a camera, so every point carries real color. For Bridalveil and Leaning Tower I used airborne lidar and its near-infrared return intensity as a stand-in for the rock's brightness.
Half Dome became personal. The lidar gives its shape, but no color. So I used my own photos of Half Dome. A script finds where each photo was taken by matching the skyline in the picture against the elevation model, then projects the pixels back onto the lidar surface. Nine of my photos now paint Half Dome's face. When you look at it in the simulator, you're partly looking at my own trips to the valley.
The trees are real species in the right places: ponderosa and Jeffrey pine, incense cedar, black oak, dogwood, manzanita, meadow grasses and lupine. The dogwoods and oaks turn in autumn, and the meadows cure golden by August. Landmark trees are placed where they really stand, like the elm in Cook's Meadow that everyone uses to frame Half Dome. I’ll probably want to keep working on the tree models I use, but that’ll be anther day.
Making the light real
This is where most of the time went, and where I learned the most.
The sun and sky. The sun is computed for the exact date and time in Yosemite, and the sky is a physically based atmosphere model. The light arriving at the valley floor at 6:40 pm in October is the color it should be, because it traveled through the right amount of air.
Clouds that catch the light. My first clouds looked like cotton balls pasted on the sky. Real clouds at golden hour are lit by a sun that's a different color at every altitude. By the time the valley is in shadow, a thunderhead's top at 11 km is still in direct, deep-orange sun. The clouds now know that. There are eleven weather presets — fair cumulus, morning fog, a storm on the horizon, lenticulars, a mackerel sky, snowfall, the clearing after a snow — and each one is lit correctly for the hour.
Two bugs I found while making the video for this post. The first: at dusk, the clouds blew out to a glowing white. At night the whole scene is scaled up so tiny light levels stay precise, and the clouds' sky-light had a fixed floor that didn't dim after sunset. Scaled up, dusk clouds came out about a thousand times too bright.
The second was better. Twenty minutes after sunset, the sky overhead turned magenta, then red. The atmosphere model was letting sunlight reach air that sits in the Earth's shadow, by computing a path straight through the planet. Light that has crossed that much air comes out deep red, so blue hour came out red. With the Earth's shadow respected, blue hour came back: pink at the horizon, deep blue overhead, and then the first stars.
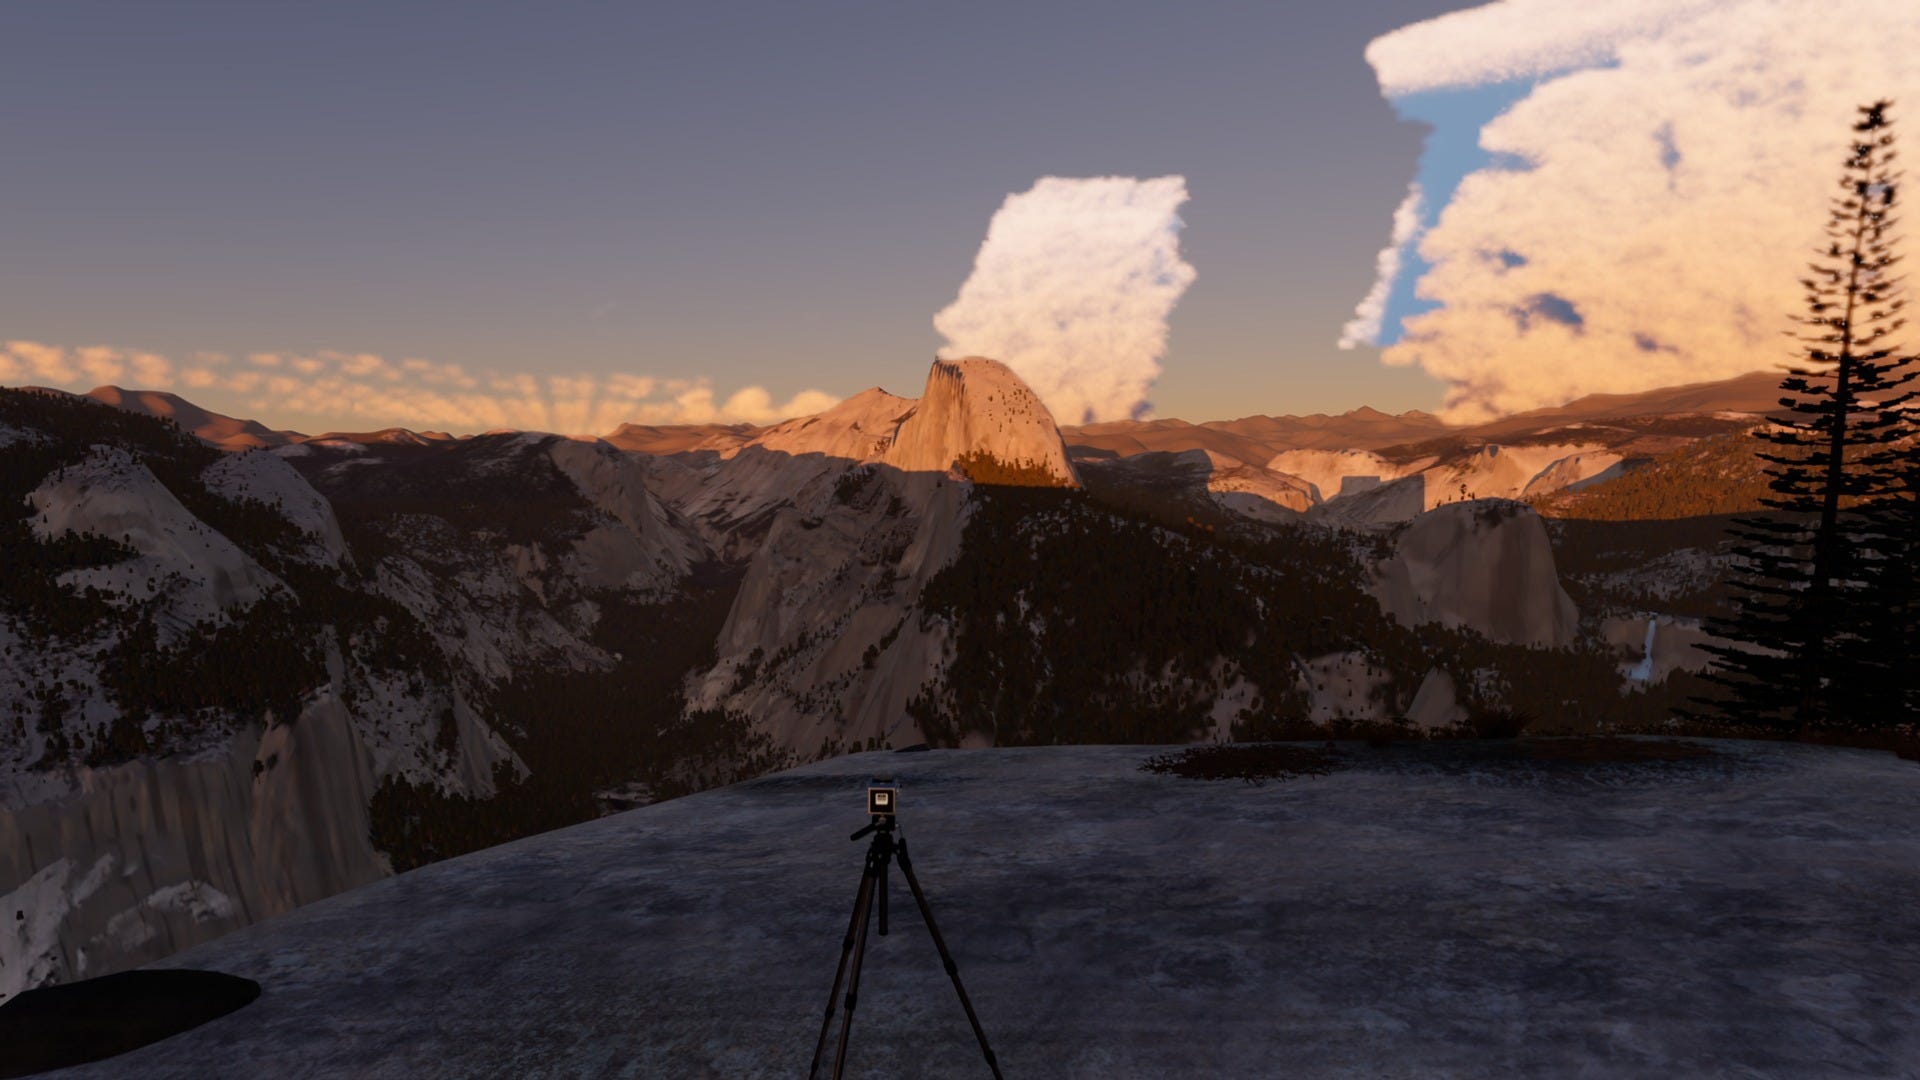
An eye, not a camera. The main view adapts like your eye does. It meters its own image every quarter-second and settles on an exposure the way your pupils would, so a moonlit valley reads as night and not as a black screen.
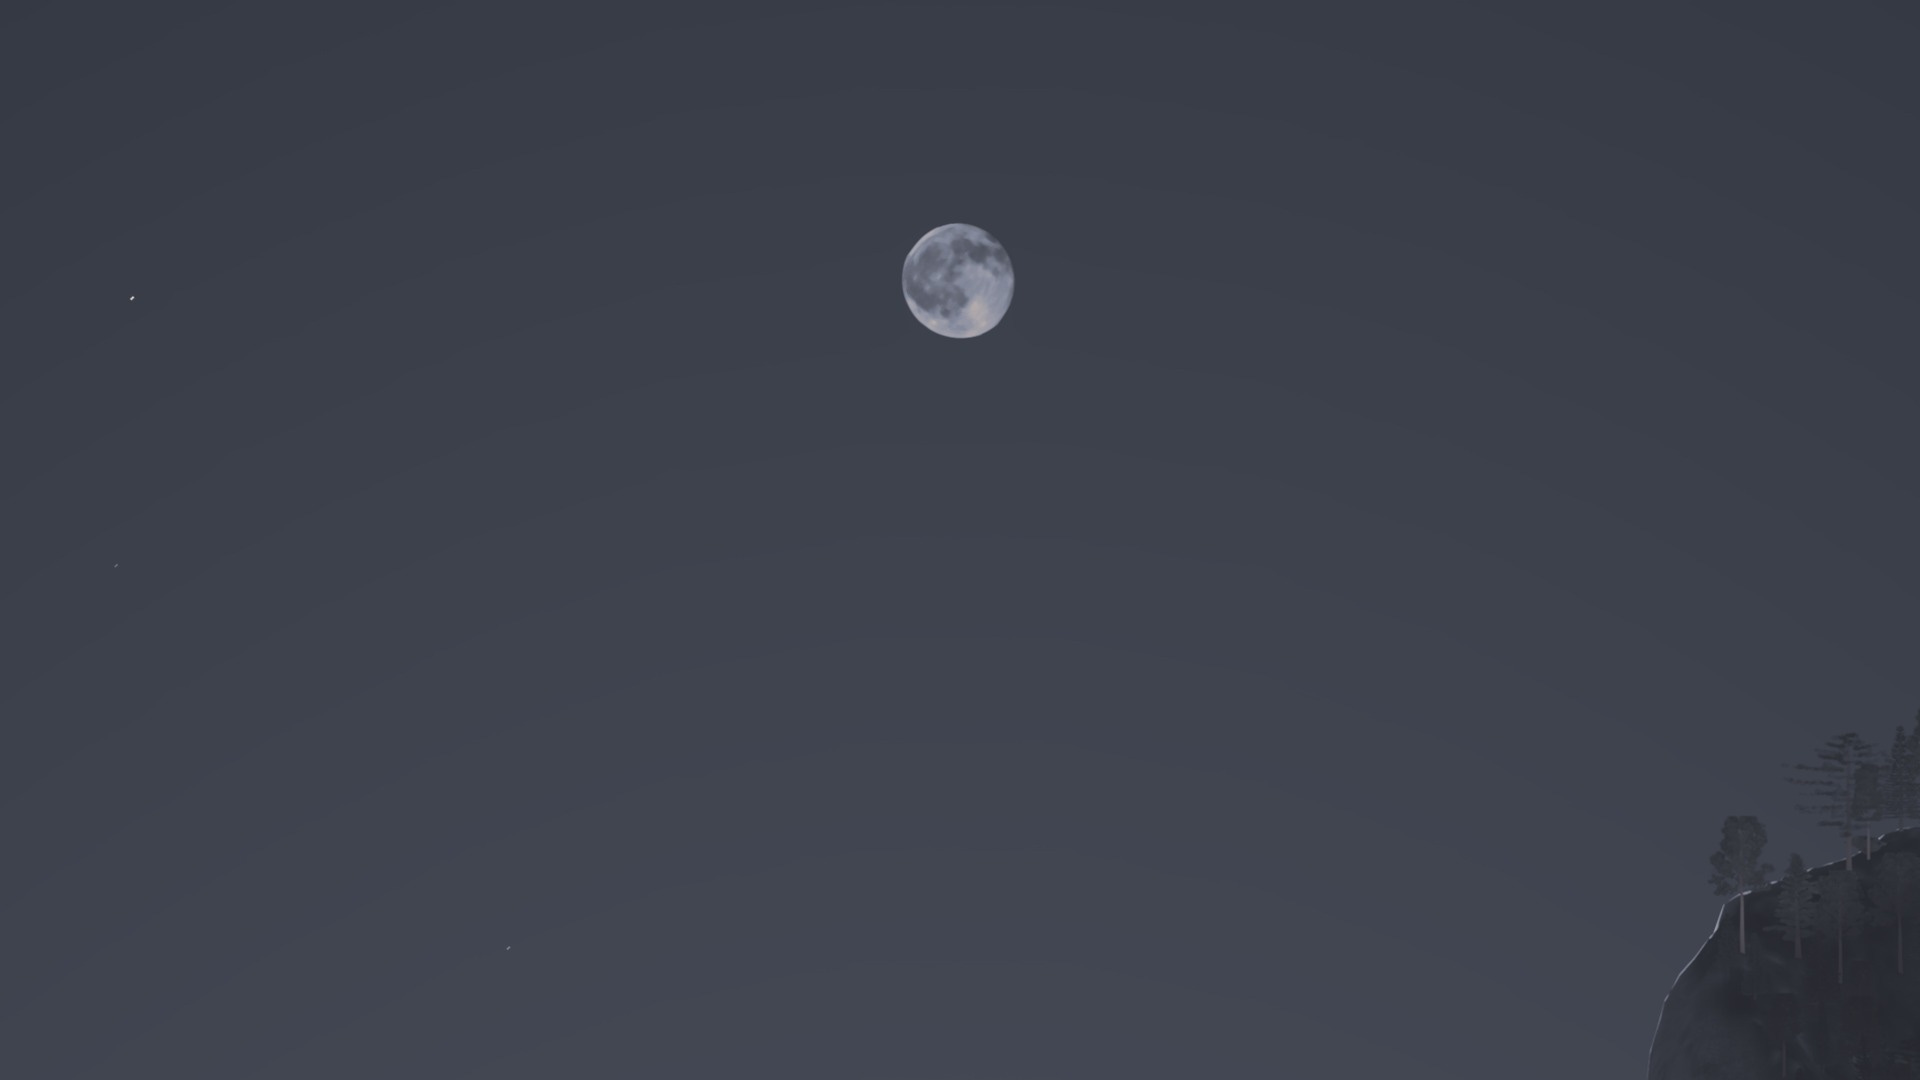
The real Moon. At one point the Moon was a blurry disc. Now it's NASA's Lunar Reconnaissance Orbiter imagery, placed with the International Astronomical Union's rotation model. The phase, its position in the sky, and even the slight wobble and tilt of the Moon's face (libration) are correct for the date. Behind it are 9,096 stars from the Yale Bright Star Catalogue and the Milky Way from ESA's Gaia survey (NASA SVS). Long exposures on the bulb setting draw real star trails as the Earth turns.
Water, seasons and the winter answer
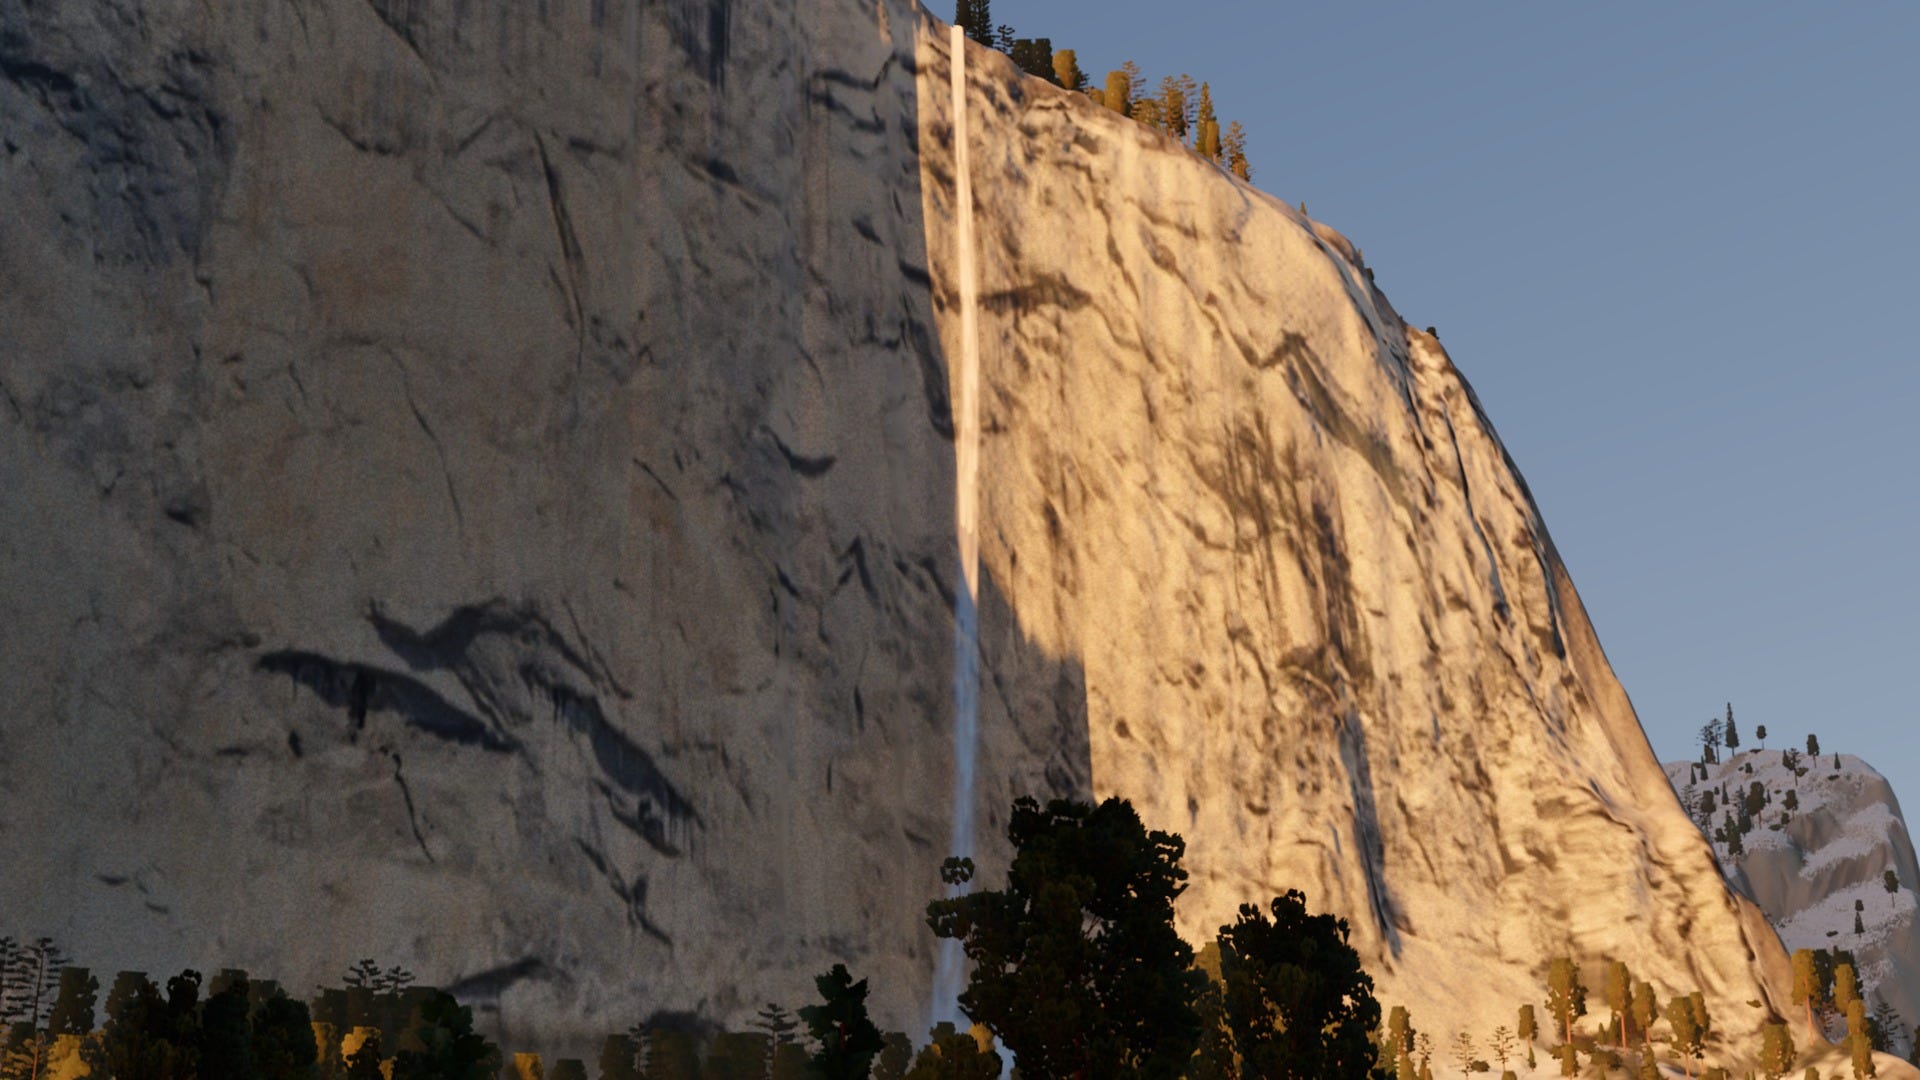
The Merced is modeled as clear snowmelt, with reflections that brighten at grazing angles, depth that absorbs light, a cobbled riverbed with caustics, and ripples that follow the current. The waterfalls fall at the speed things actually fall, stretching into streaks, with spray, mist and rainbows where the geometry puts them.
The falls also follow the calendar. Early on I thought I had broken Yosemite Falls: it had dwindled to almost nothing. It hadn't broken. It was September, and by late summer the real Yosemite Falls shrinks to a thin ribbon, and in a dry year it stops altogether. I’m going to pretend we’re not in a perpetual drought and keep at least a little flow even in September.
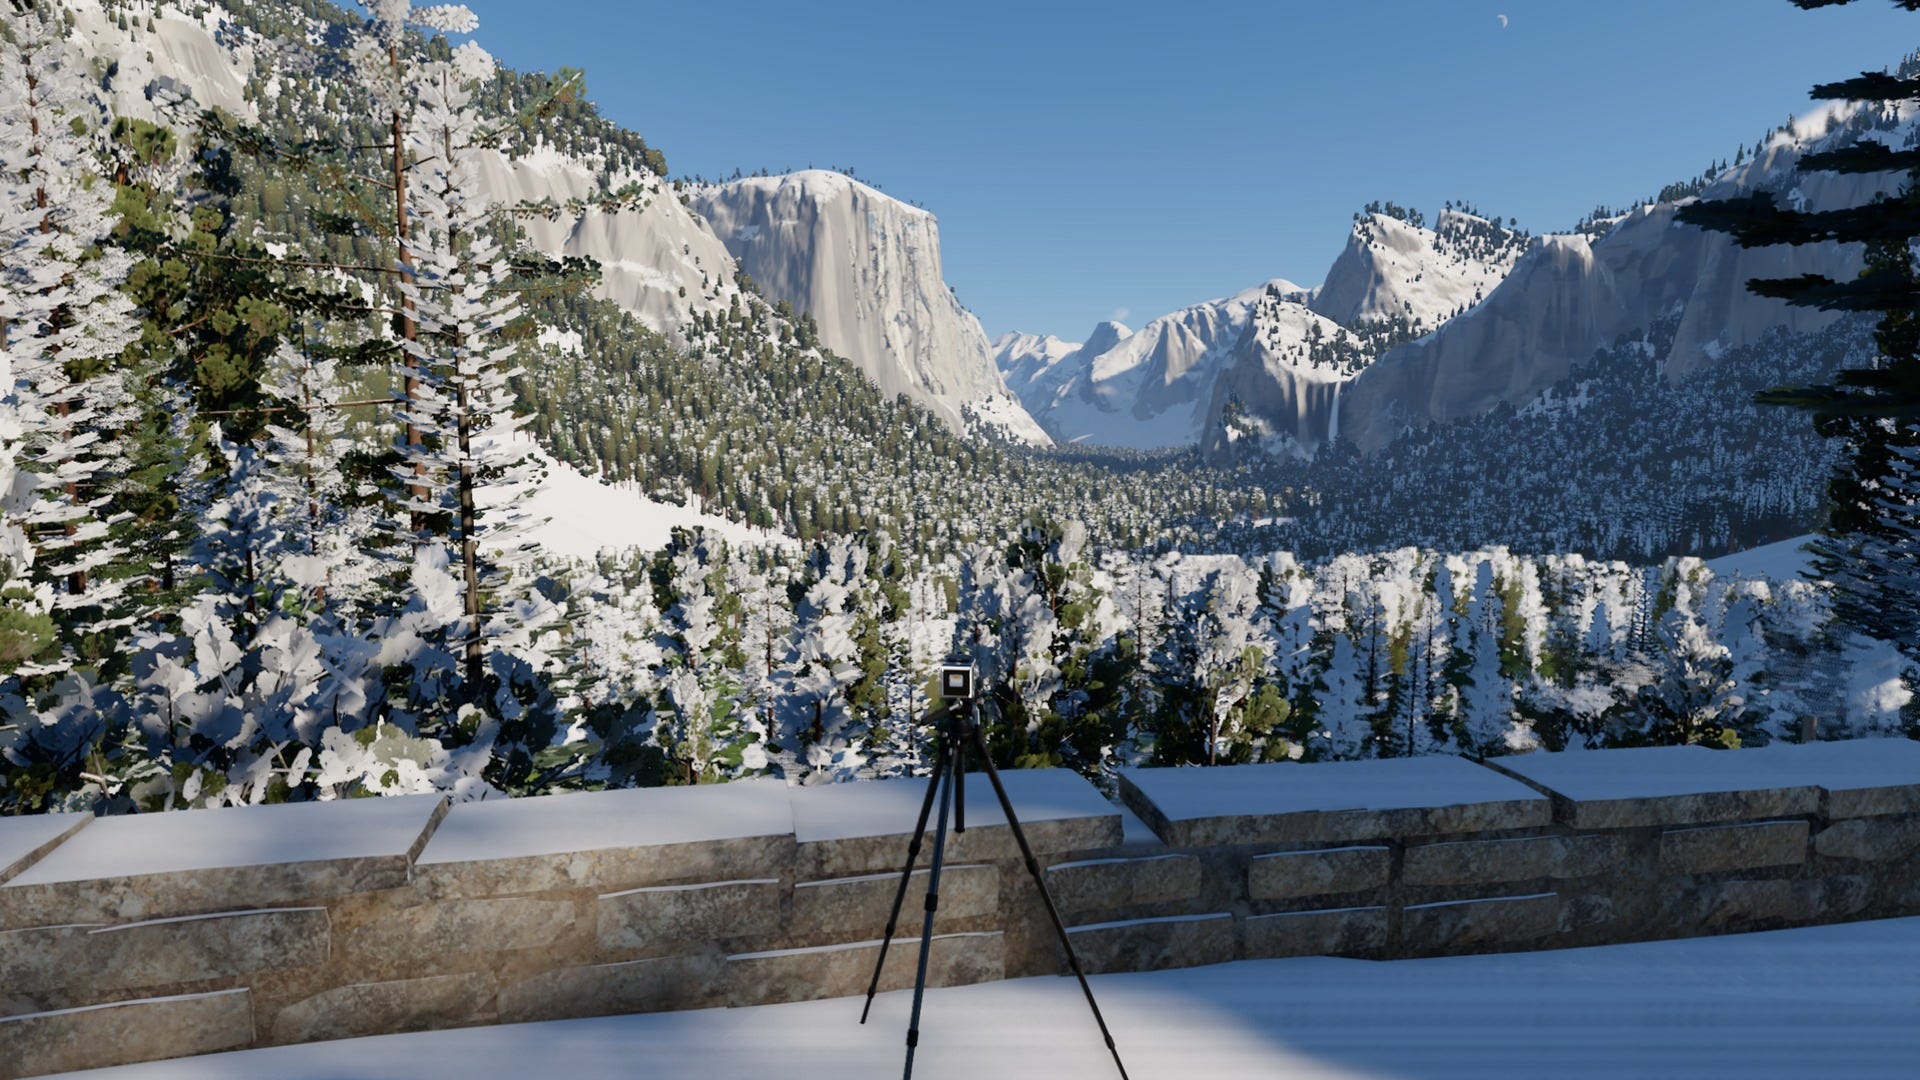
Which brings me back to my son's question. Set the date to January, choose "After the snow," and the answer is right there: snow down to the rims, the valley floor dusted white, El Capitan and Bridalveil lit by a low winter sun. (Check it out.) Choose "Morning fog," and the valley fills with it. Open Places & moments, pick Firefall, and it takes you to El Capitan Meadow in mid-February, at the minute the last light leaves Horsetail Fall — computed from the sun, not hard-coded.
Making it feel alive
A still valley feels like a diorama, so I added life.
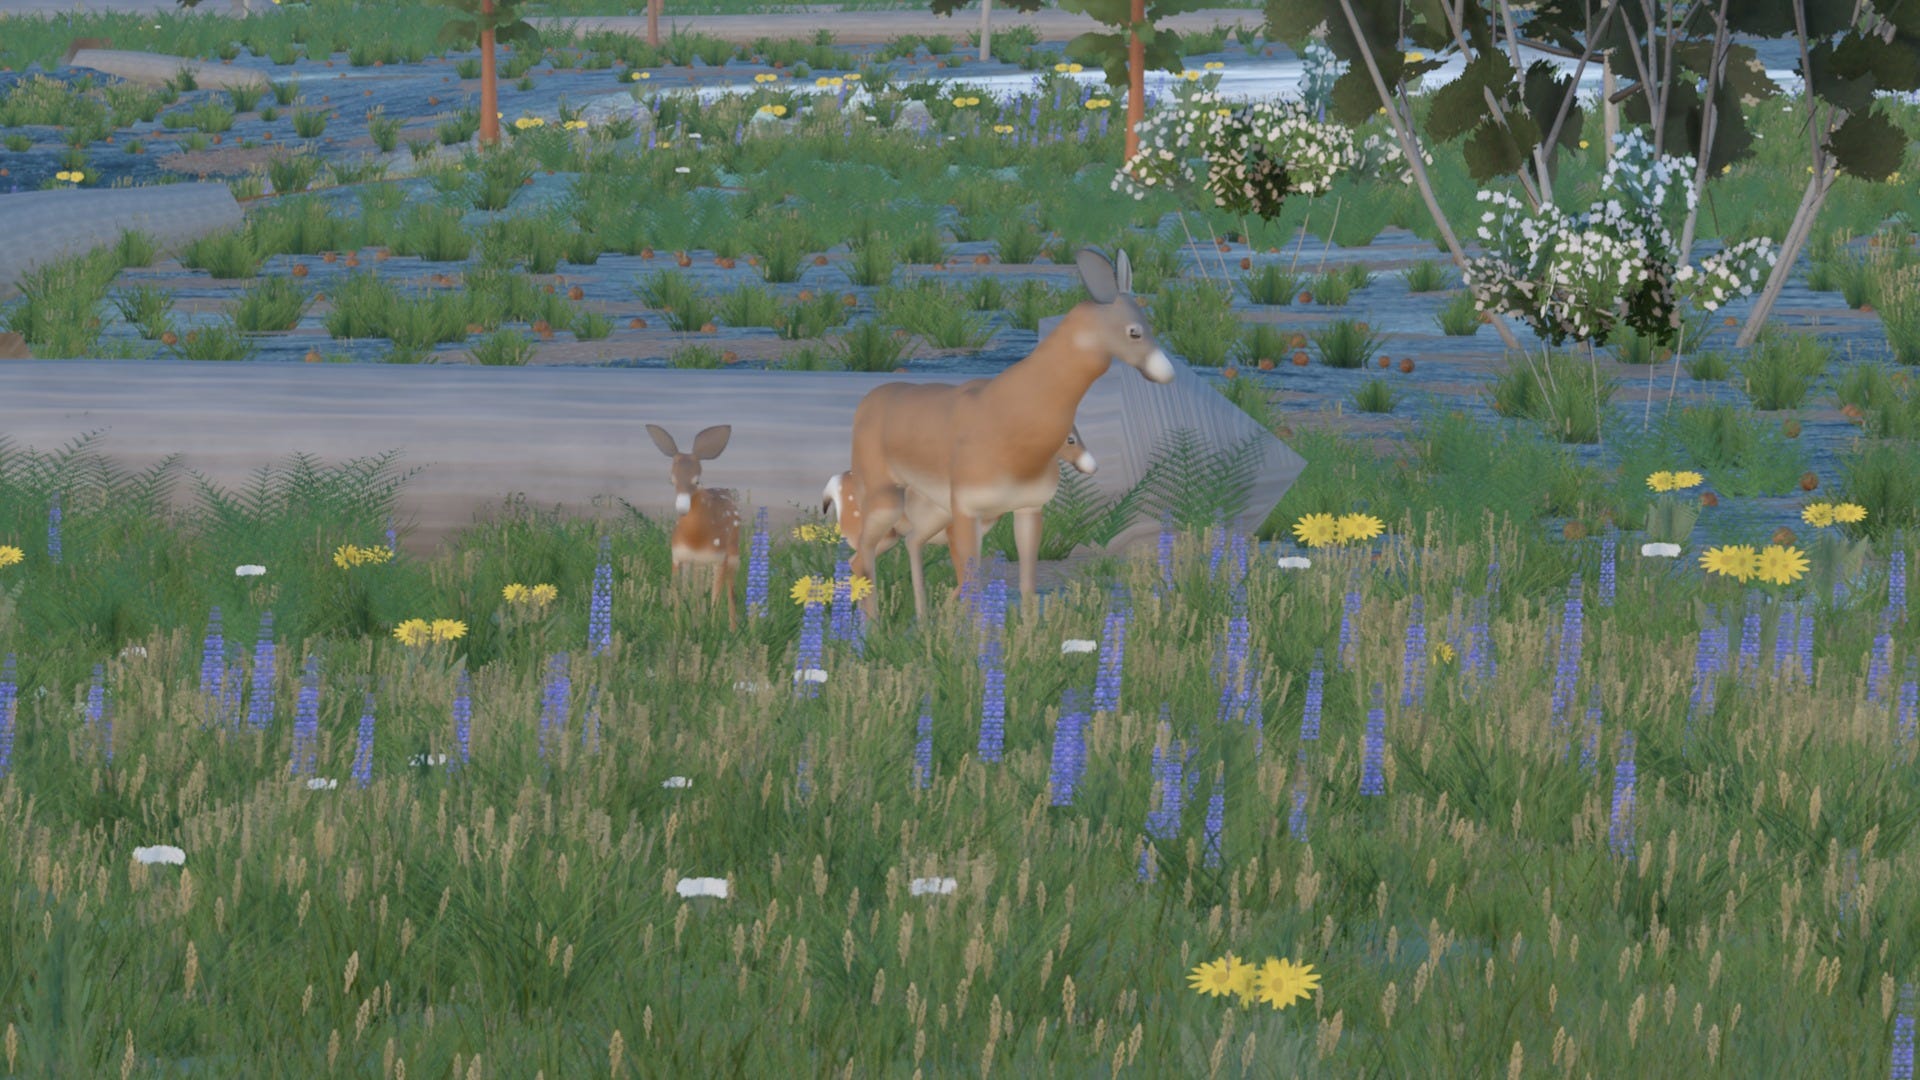
There are mule deer, black bears, coyotes mousing in the meadows, bobcats, gray squirrels, bald eagles riding thermals, raven pairs doing barrel rolls, acorn woodpeckers, dippers bobbing on river rocks, mergansers, butterflies, and bats at dusk. They aren't on rails. Each animal plans its route around rivers and cliffs, walks in single file when it should, grazes, looks up, and bolts when a predator comes by. In an early version about 60% of the deer ended up pacing back and forth on the wrong side of the Merced. Now, in a stress test of 120 animals, every one gets where it's going.
The whole valley is also synthesized in sound: wind, the falls' roar by flow and distance, the river, rain, a dawn chorus, coyotes at dusk, crickets and an owl at night, and the camera's own mechanics. There are no recordings; it's all generated live in the browser.
The camera
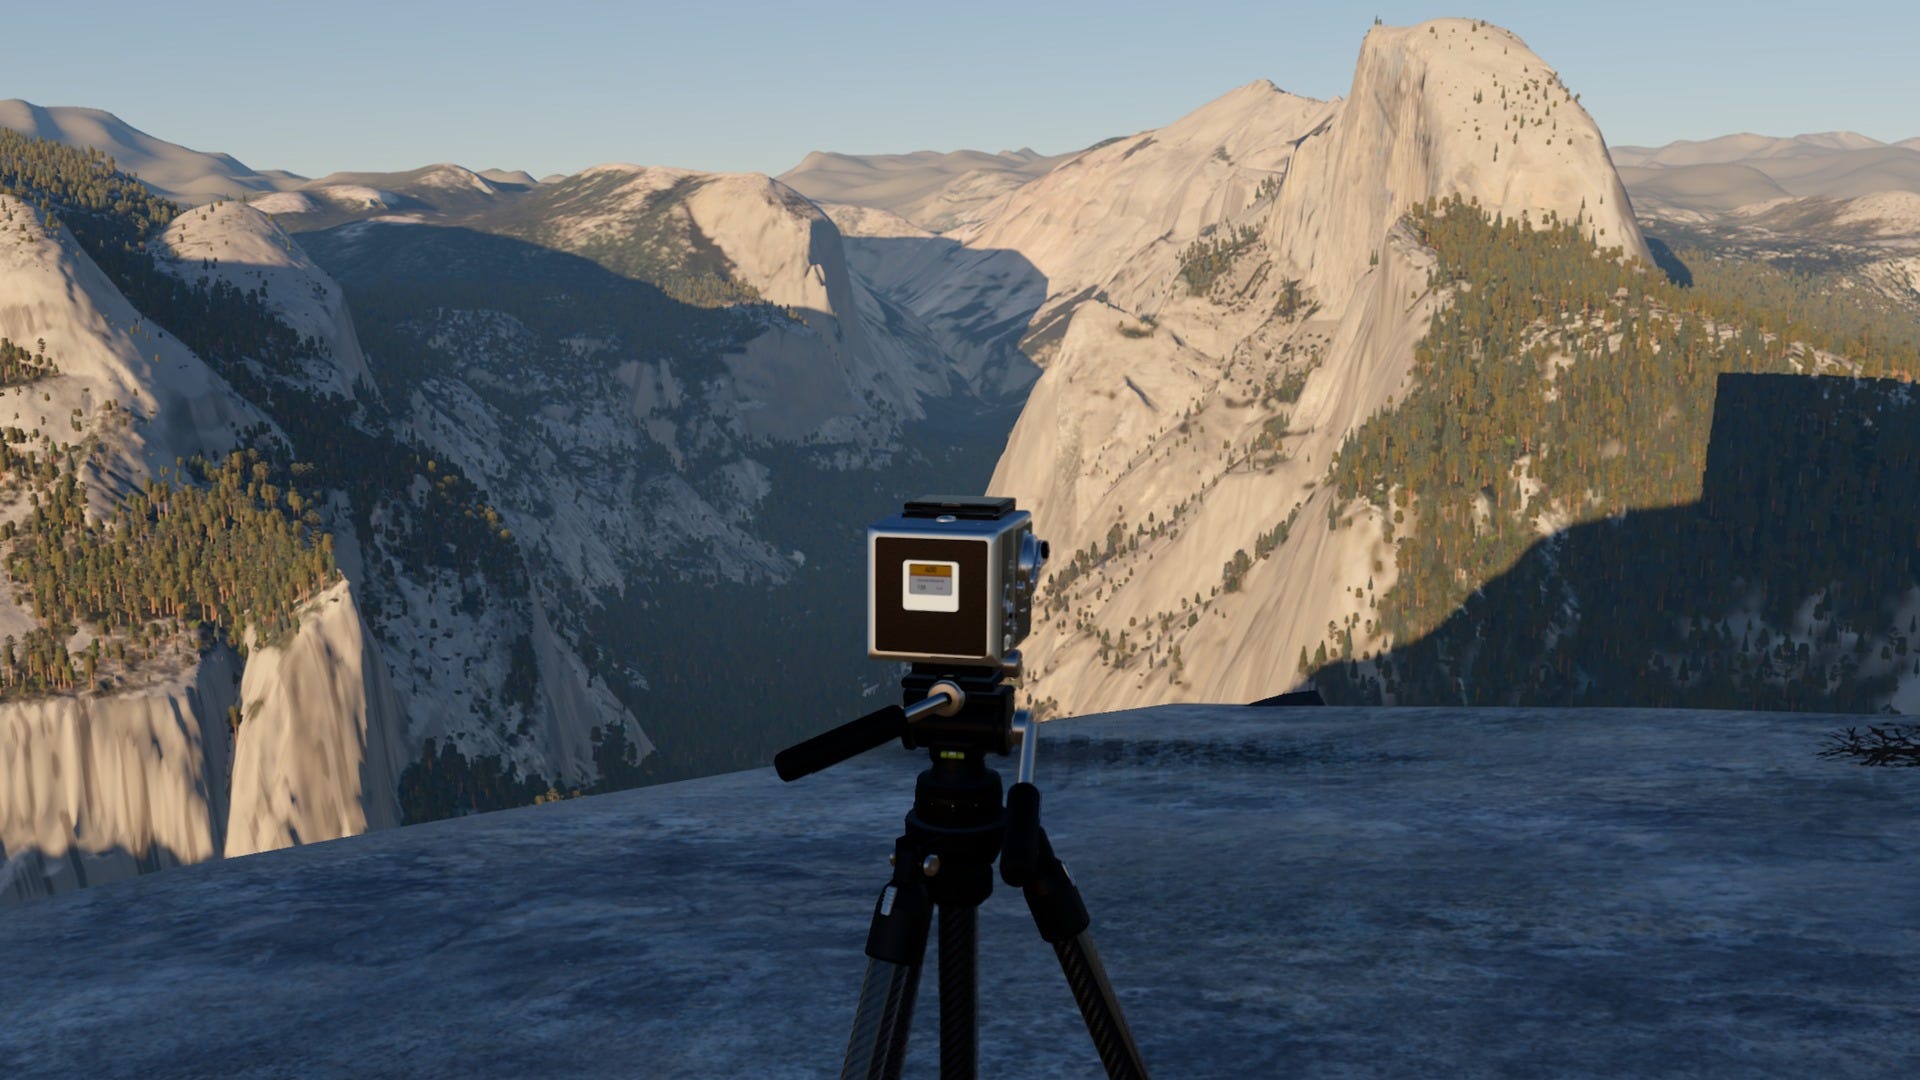
The camera on the tripod is modeled on the 503CX I shoot with, part by part: the body, the film magazine with its dark slide, the winding crank, and the waist-level finder that unfolds with its magnifier. Open the exploded view and every piece separates and labels itself. Press the shutter and you see — and hear — the mirror flip up, the leaf shutter open and close, and the crank wind on.
There are eleven lenses from a 30 mm fisheye to a 500 mm telephoto, each with its real focal length, aperture range, minimum focus and depth of field. Look down into the finder and you see the ground glass, reversed left to right like the real thing. Press the stop-down lever and it darkens as the aperture closes — f/4 to f/16 is sixteen times less light — just as it does on my camera, with your eye winning some of it back as it adapts.
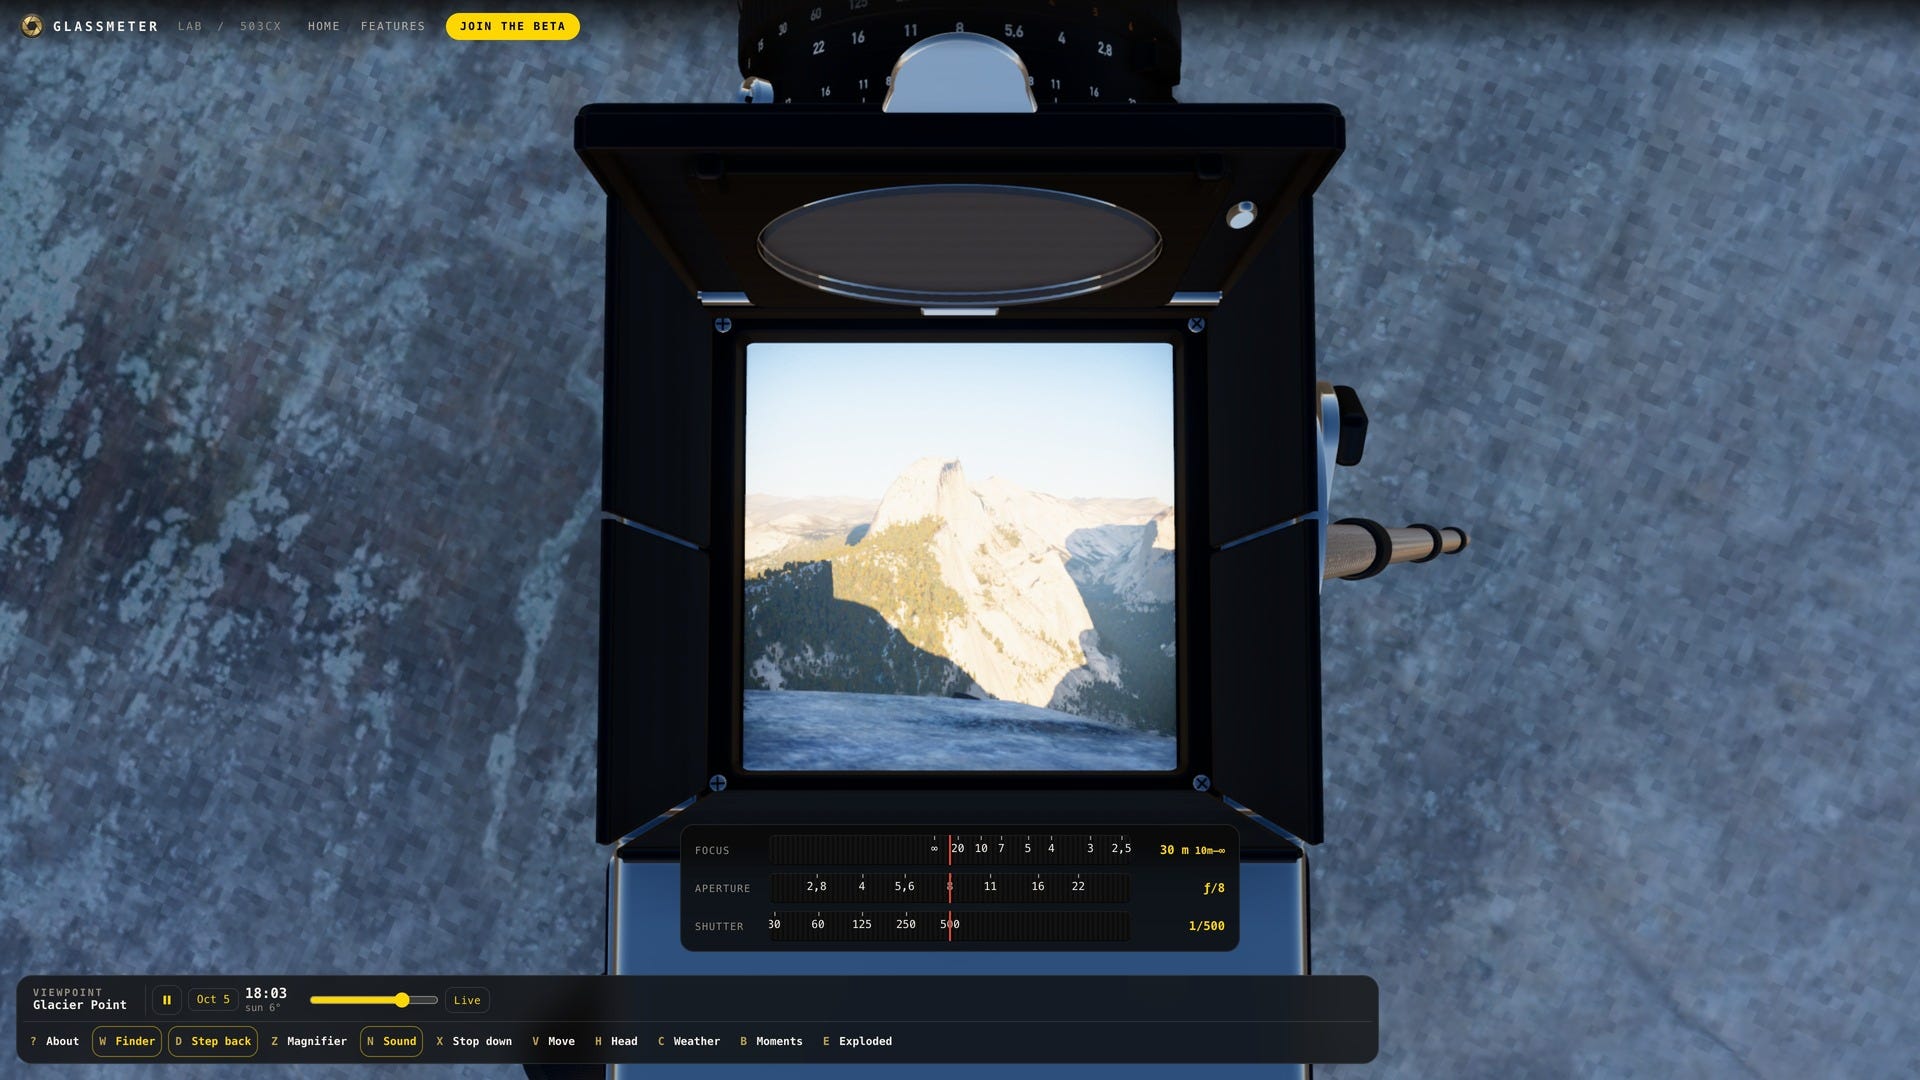
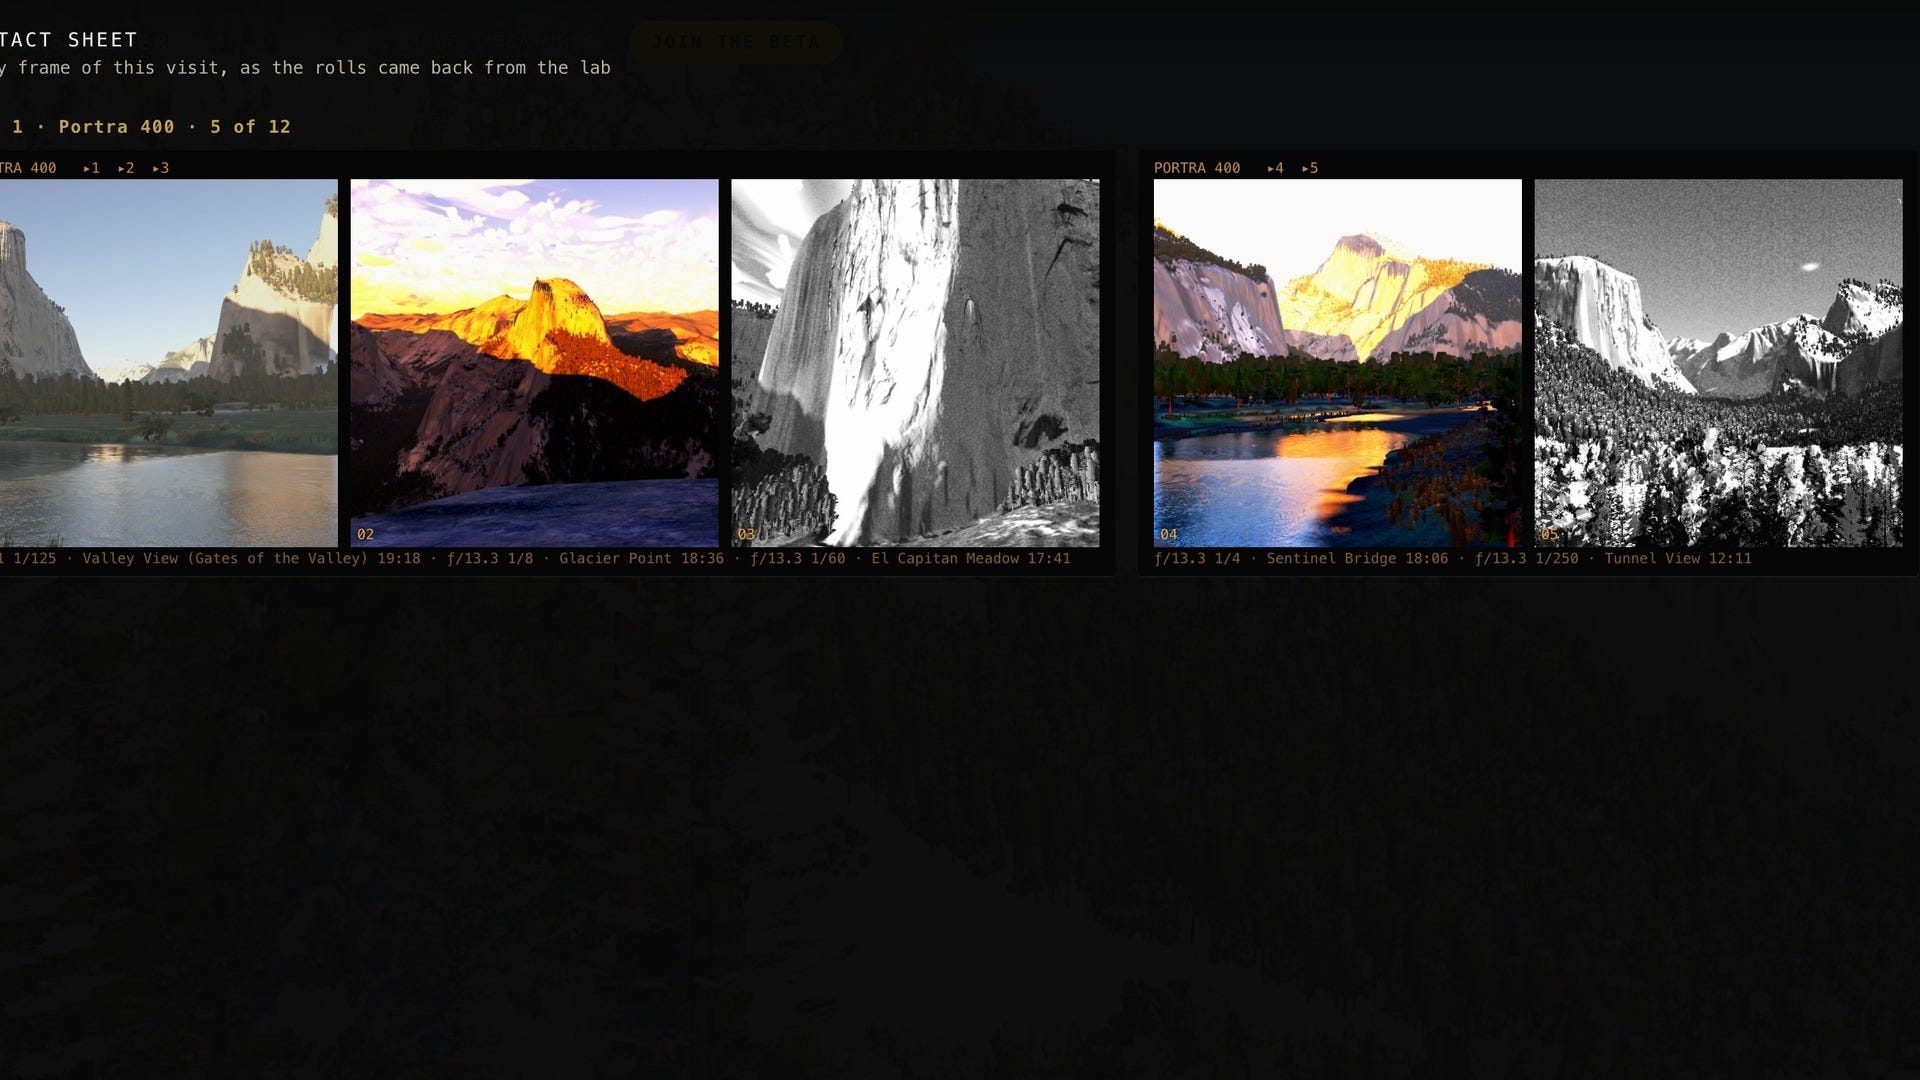
When you take a photo, it goes through GlassMeter's film pipeline and develops into a print on the page. A roll fills a contact sheet. If you want, you can hand a frame to Google's Gemini with your own API key for a darkroom-style rendition.


The hard part: 60 frames per second
All of that has to run at 60 fps in a browser tab. A few of the things that made it possible:
Reversed depth. When your scene spans from a lens element a few centimeters away to a ridge 36 km out, ordinary depth buffers run out of precision. A reversed floating-point depth buffer fixed the flickering. It also let the GPU skip hidden pixels early, which turned out to be the single biggest speedup.
Precision at a distance. The world is kilometers from the origin, and 32-bit floats get coarse out there. At one point the image in the finder was smearing into blocks. The cause was the temporal anti-aliasing reprojecting in world coordinates. Doing that math relative to the camera, in double precision on the CPU, made it sharp again.
Adaptive resolution. The renderer watches for missed frames and trades a little resolution to keep motion smooth, then quietly steps back up.
Heavy work off the main thread. Animal meshes, vegetation textures and data decoding run in background workers, so nothing stalls a frame.
On my M4 Max it holds 55–60 fps with the GlassMeter panel open, and the CPU side of a frame takes about 3 ms. I haven’t tested it on lower powered devices, and I’m sure it’ll stutter a bit there.
Plan your shot
I’m really excited to use this tool to help plan my next trip to Yosemite, and when I showed this to my son yesterday he played with it for nearly an hour (he might have been avoiding his homework!).
For planning, I’ve made it easy with a section called Places & moments. Each of my ten favorite viewpoints in the Park are there with a line about what you'll see, and under each one are its moments: a day, an hour, the weather and a lens, set up for you with one click. Some are the page's own suggestions — January snow at Tunnel View, alpenglow from Glacier Point, Yosemite Falls at peak flow. Ten are reconstructions of where and when Ansel Adams made some of his best-known Yosemite photographs, with the sources for each.
Or start from scratch. Pick a spot. Pick a day. Scrub the clock and watch the light come across the valley. Swap to a longer lens, meter the highlights on Half Dome and the shadows in the trees, choose Velvia or Tri-X, and take the picture. Then go back and do it again in January.
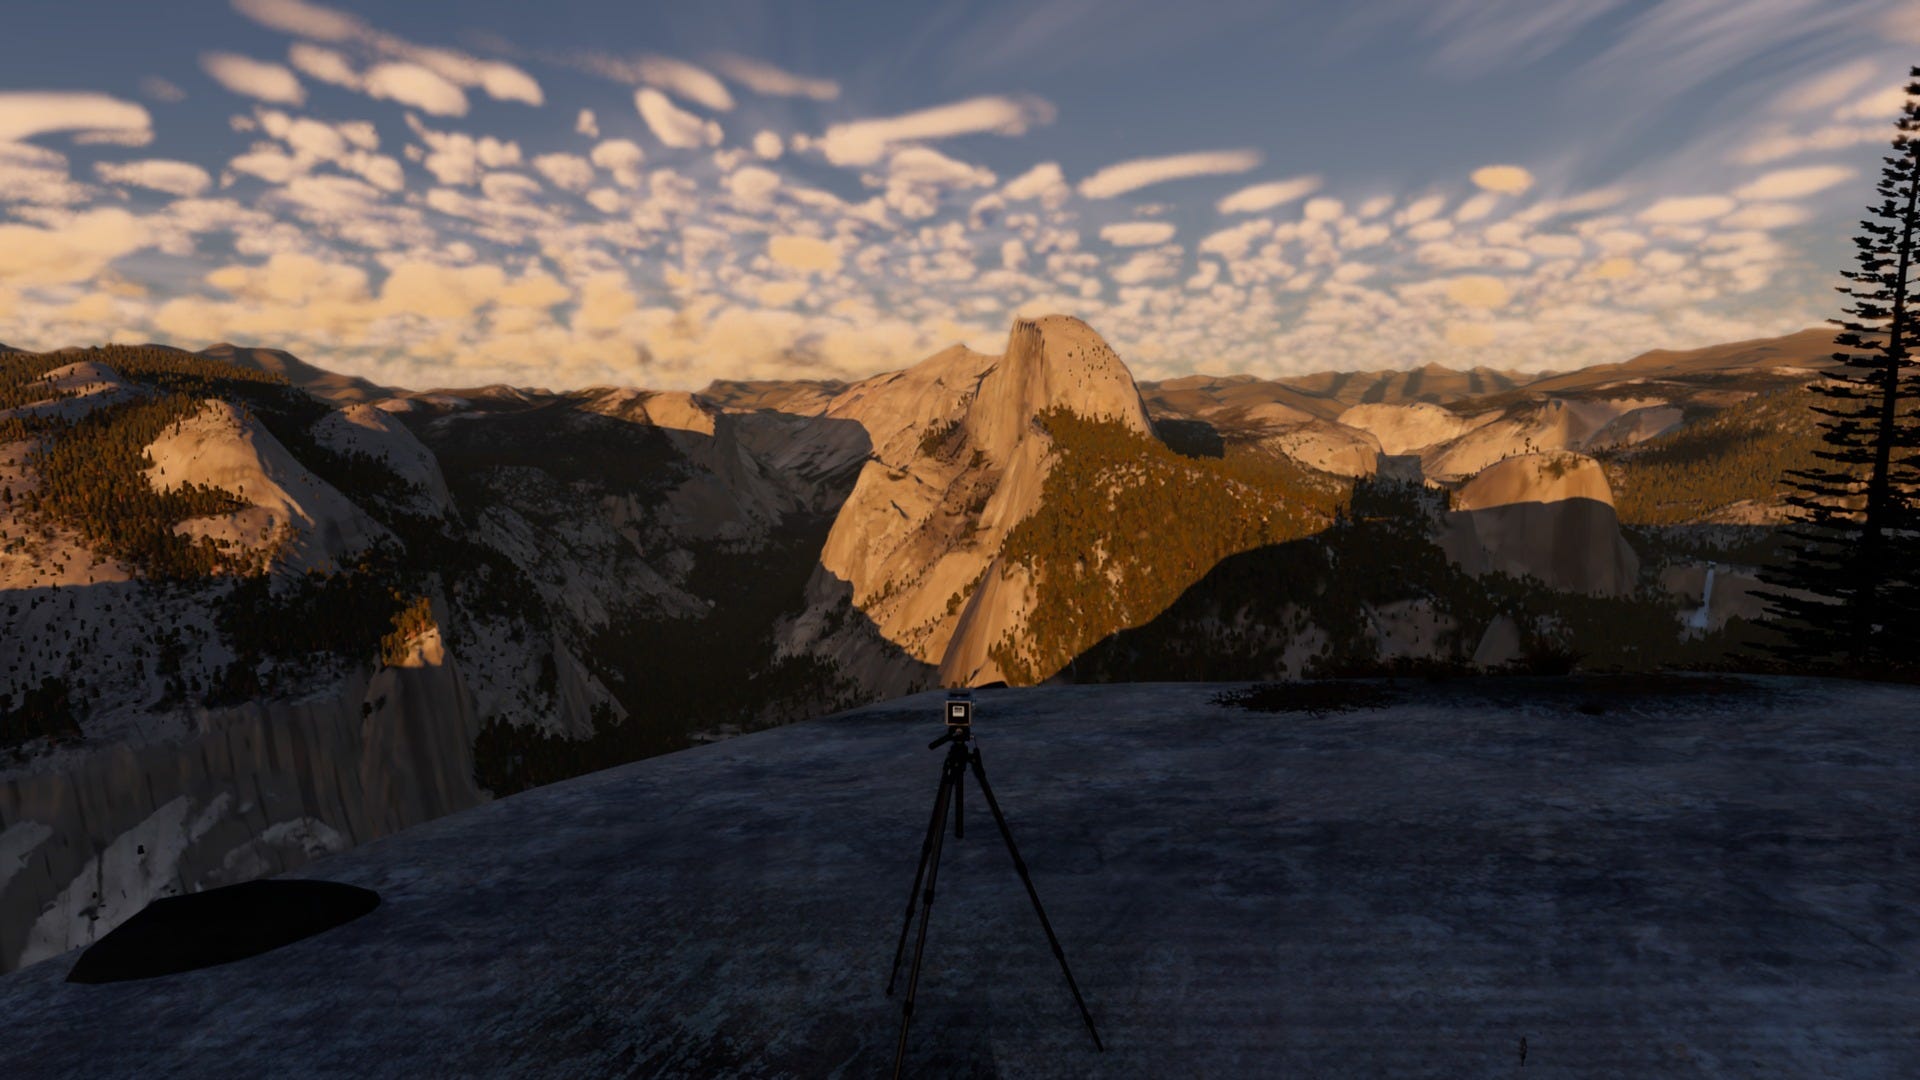
Alpenglow on Half Dome from Glacier Point, 27 September.
I don't think a simulator replaces being there — nothing replaces the cold air at Tunnel View at 6 am. But it's the closest thing I've found to walking in with a camera and a plan. And it answered a question from a kid who wants to know what winter looks like through a viewfinder.
Five scenes to try
Each link opens the page at that place, day and hour (on a desktop browser). Press K anywhere to copy a link to your own scene.
Tunnel View after a January snow — the answer to my son's question, on Tri-X.
Alpenglow on Half Dome — the last light from Glacier Point, on Velvia 50.
Firefall — Horsetail Fall at the minute the sun leaves it, in mid-February.
Morning fog — the valley filled with fog at first light.
Moonrise over the valley — the real Moon, in its real place, for that night.
How I built it
I built this heavily with AI tools. I use a mix of Antigravity, Gemini and Claude. I set the direction and the bar: what real light looks like, how my camera behaves, which viewpoints matter. AI wrote the code, fetched and processed the public datasets, and I checked its work by rendering the scene and looking at the frames, a lot like reviewing a contact sheet. When something felt wrong — the blob Moon, the pale shade, clouds that didn't catch the light — I'd describe what I saw, and it would chase the cause down to the physics. I used different AI models to run end-to-end audits of usability, performance and code quality; each time fixing it’s discoveries. Even the video was made this way: every frame rendered by the live page, then cut to the beat of the music which I generated in Google Flow Music.
Try it: glass-works.ai/503cx (desktop browser) GlassMeter is in beta on iOS: glass-works.ai
Data: USGS 3DEP elevation and lidar, the USGS El Capitan ground-based lidar survey, USDA NAIP imagery, USGS hydrography (all public domain); NASA LRO lunar imagery via NASA SVS; the Milky Way from ESA Gaia via NASA SVS; the Yale Bright Star Catalogue. Built with three.js.